DIY: Become Pablo Escobar In Under 15 Minutes (Halloween Costume)

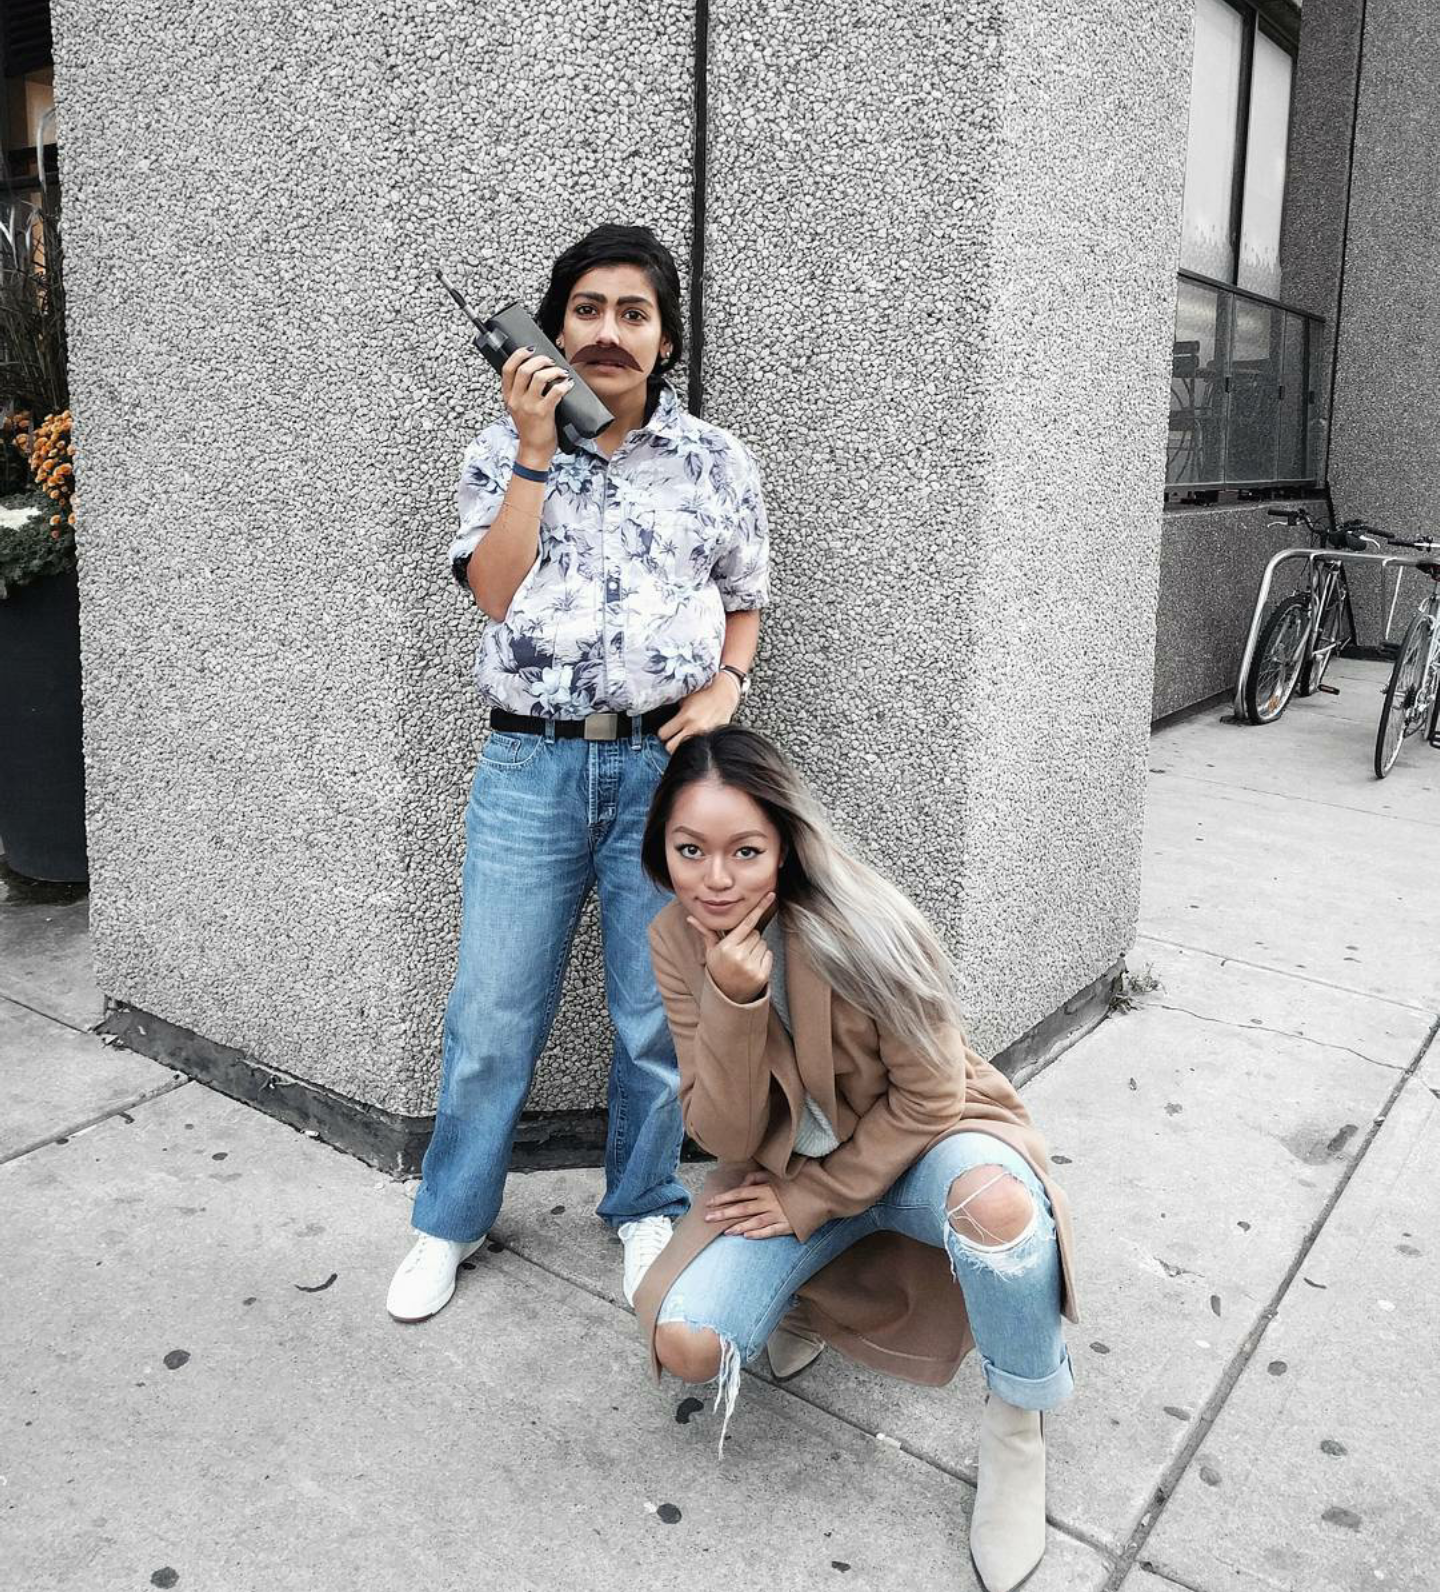
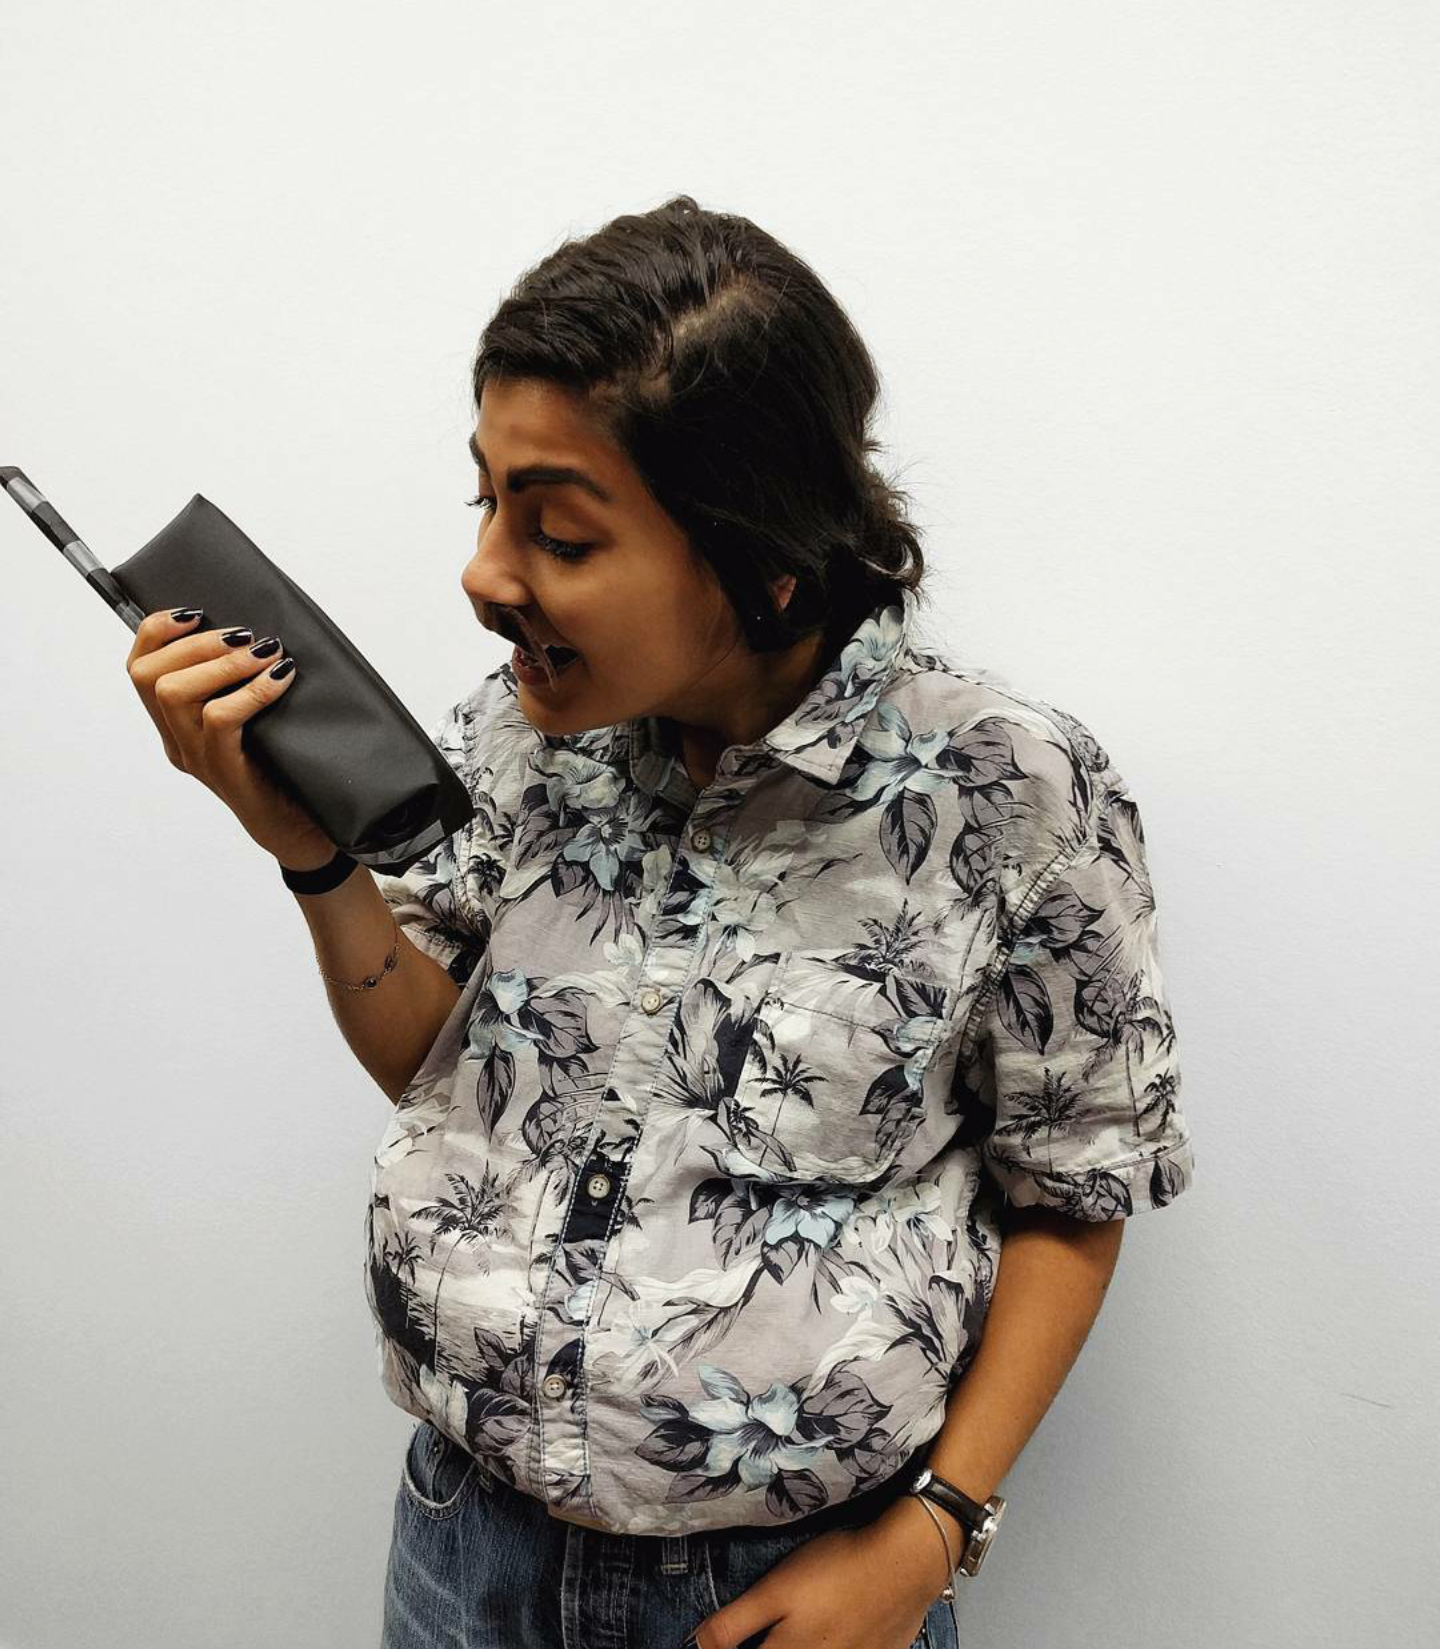
Looking for a last minute costume this Halloween? Or simply looking to turn your colleague into Pablo Escobar for the day? Sharing a really quick DIY you can do in under 15 minutes!

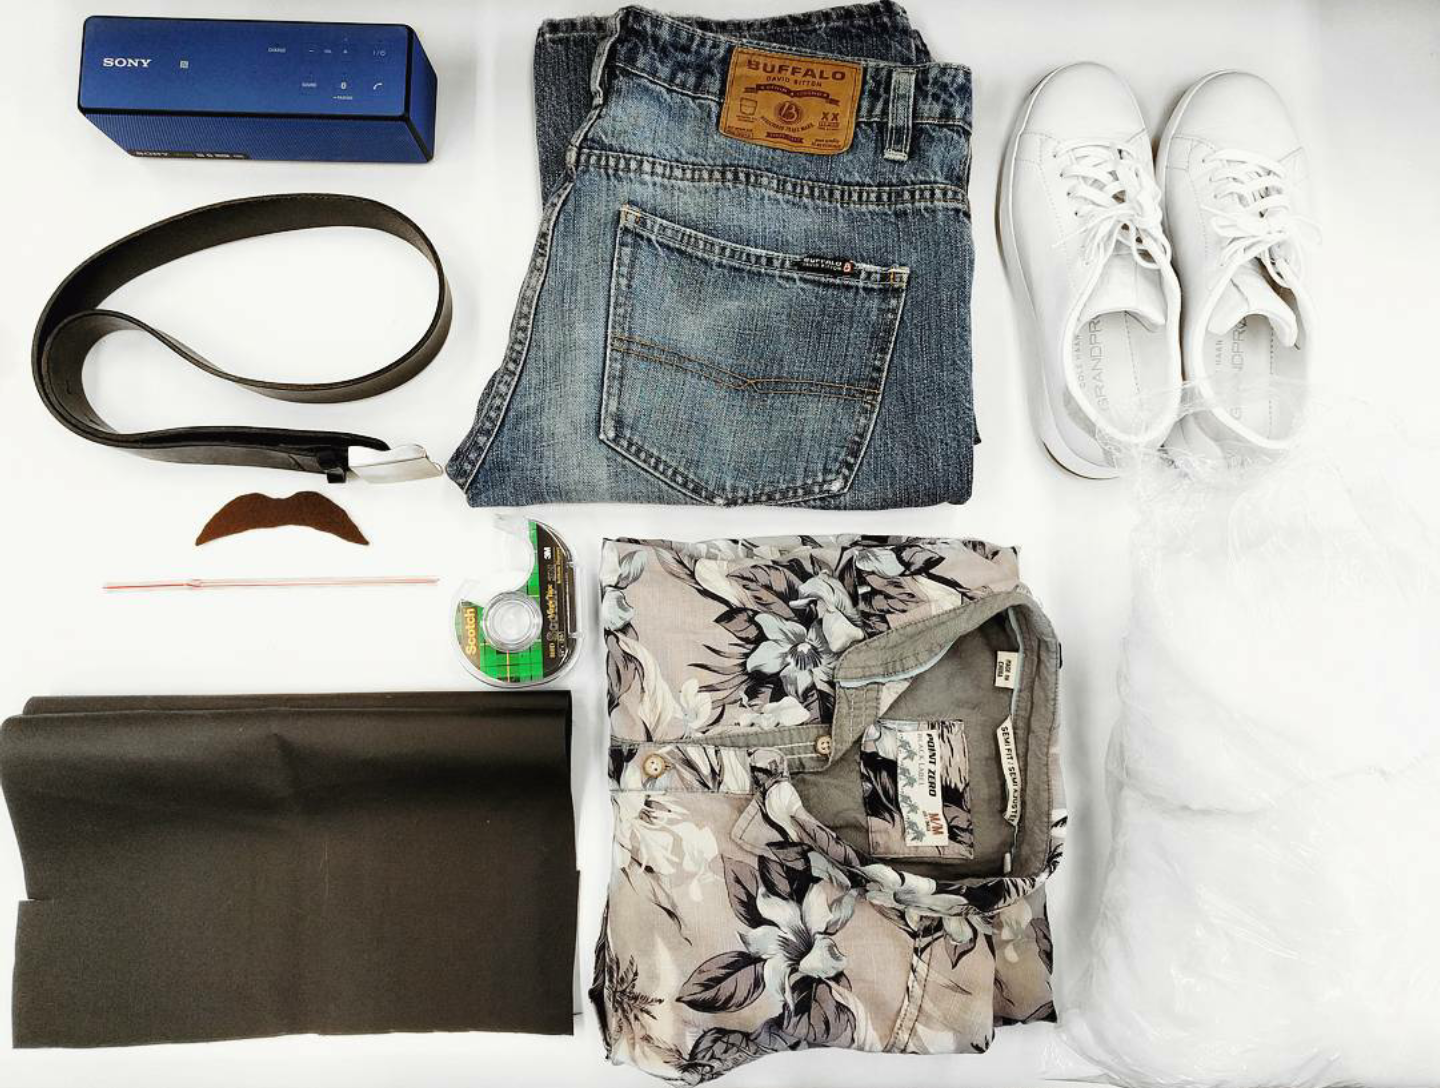
What you'll need (shown below):

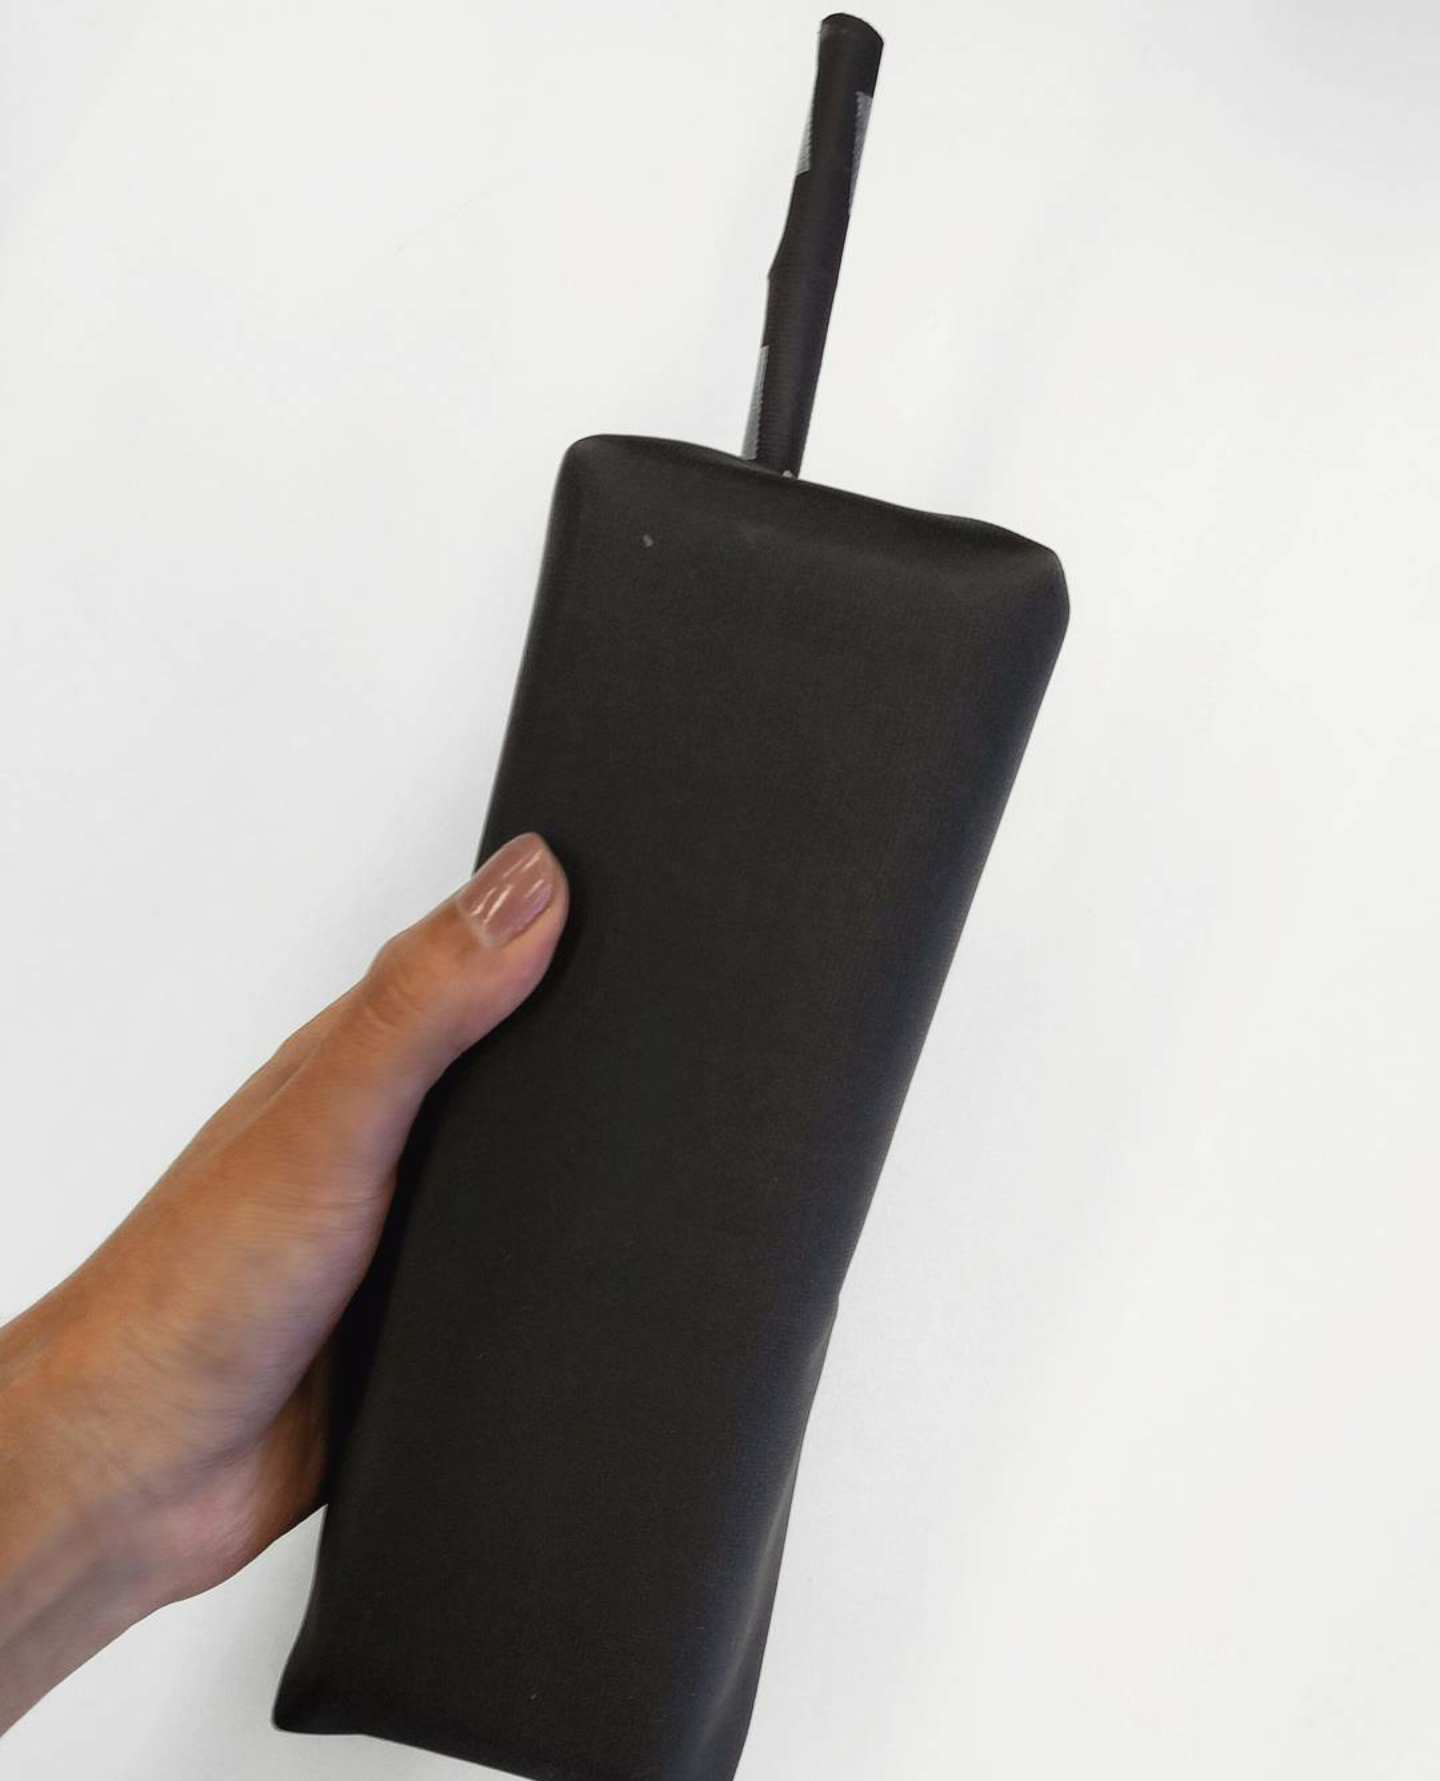
  1. A walkie-talkie (or in this case, a Bluetooth speaker that we will turn into a walkie talkie-ish)
  2. A belt
  3. Blue jeans
  4. A patterned polo/button-down 
  5. White runners

Optional:

  1. Stuffing (for the belly, unless you already have one then disregard) - Here we used cobweb
  2. Cutout of a stash (again, if you already have one then awesome)
  3. A straw to make the antenna of the walkie-talkie
  4. Black construction paper (to wrap the Bluetooth speaker with)
  5. Tape to adhere the black construction paper and straw to the Bluetooth speaker

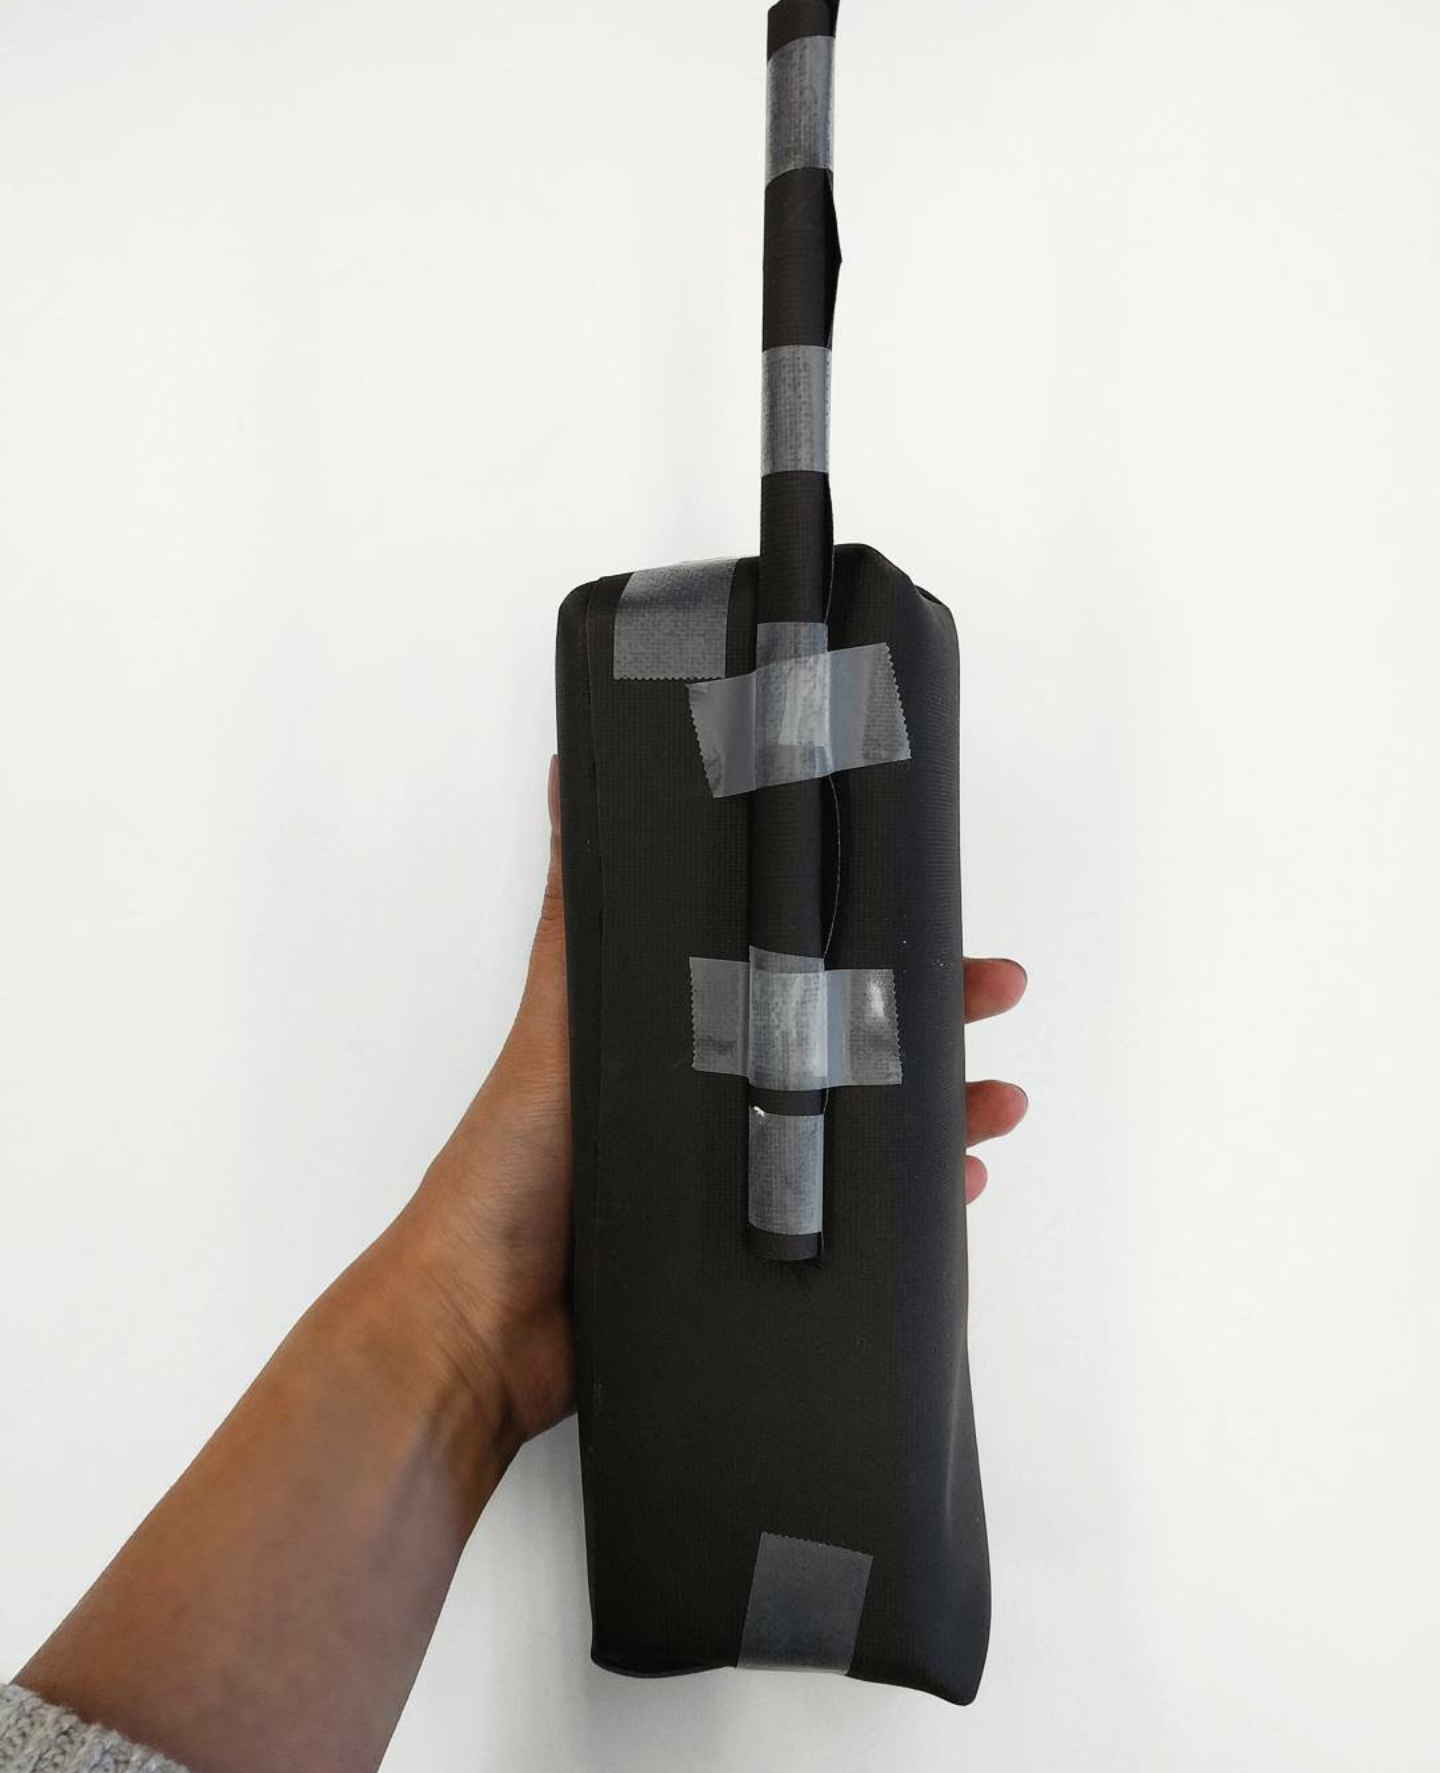
Step 1: Make the walkie-talkie

Take black construction paper and wrap the Bluetooth speaker and straw with it. Then, adhere the straw to the back of the speaker. Voila, you have yourself a DIY'd walkie-talkie! We really tried to hide the tape.

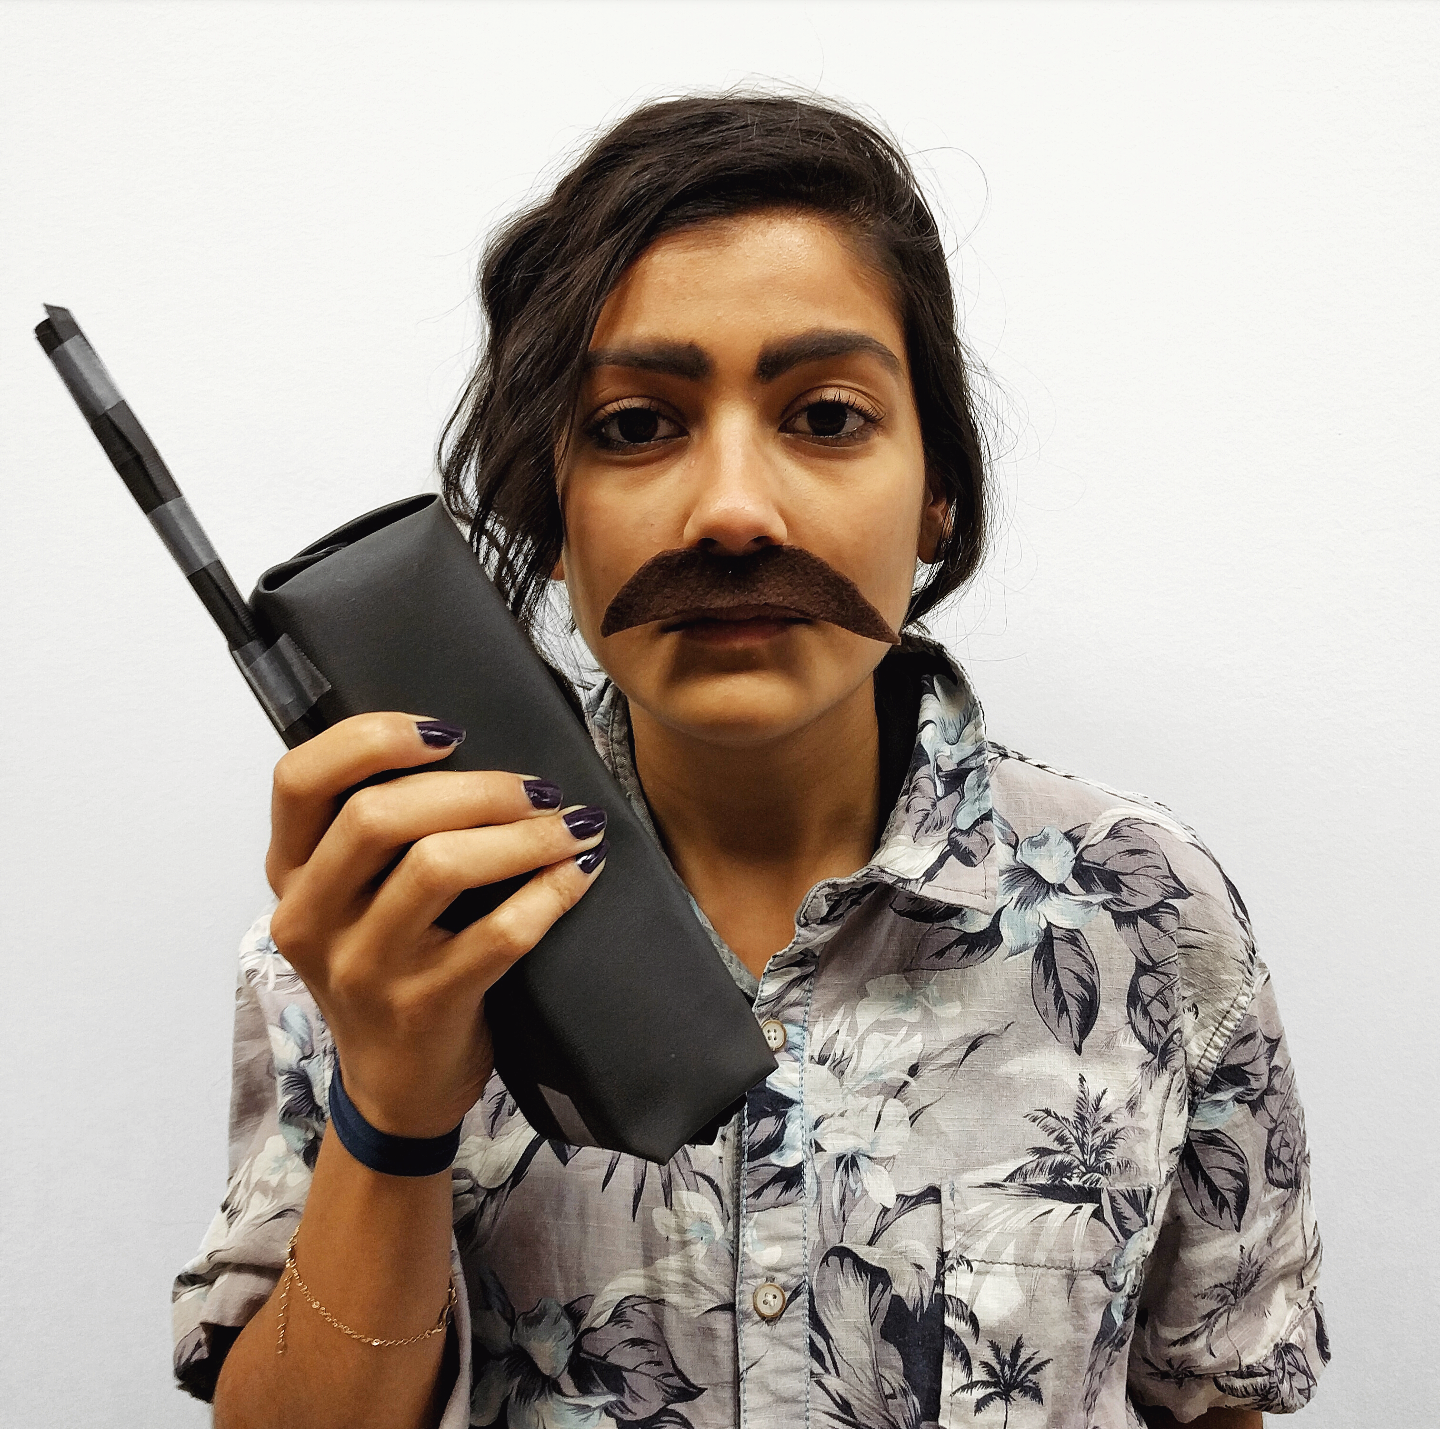
Step 2: Look the part

Here are before and afters of my colleague Anjali who happily volunteered as tribute. 

  • Hair: Used a straightener to slightly crimp her hair to resemble Pablo's waves
  • Brows: Emphasized her brows with black eye shadow 
  • Face: Took the residual black eye shadow on the brush to age her face (accentuated laugh lines, forehead wrinkles and eye bags)
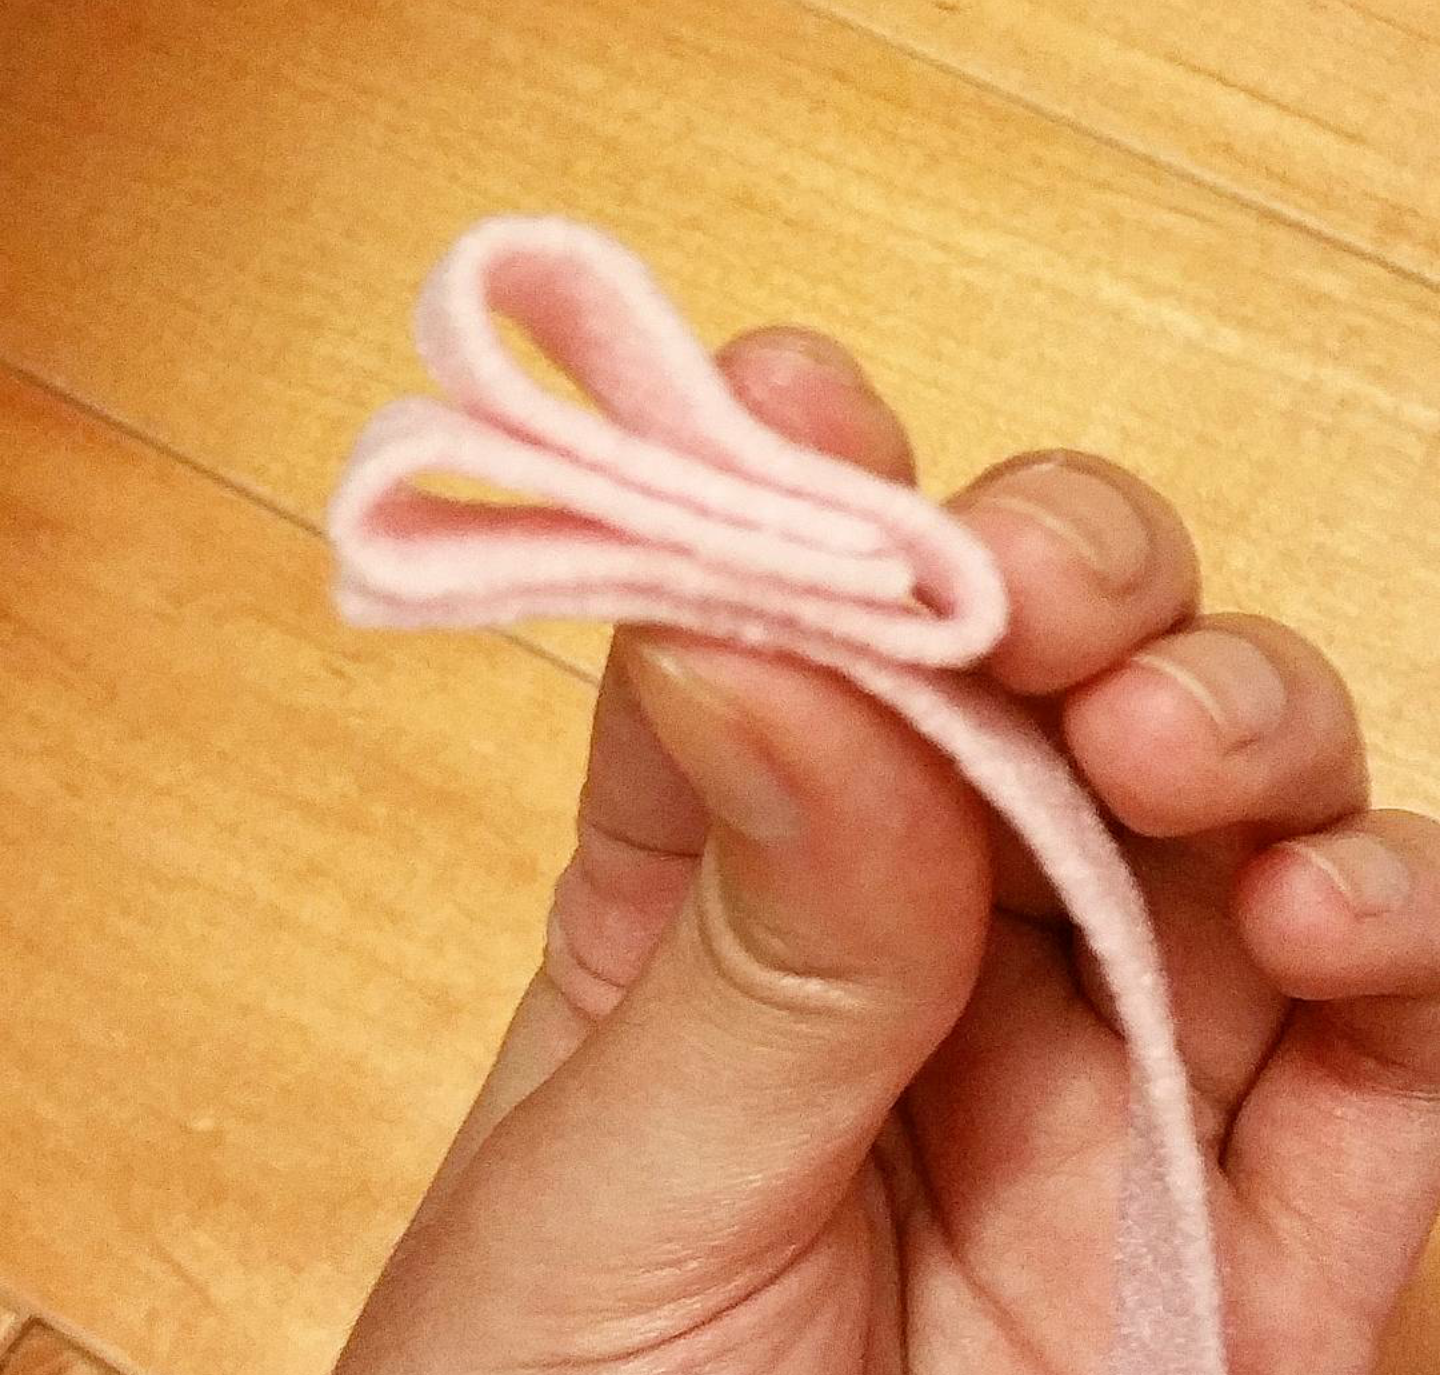
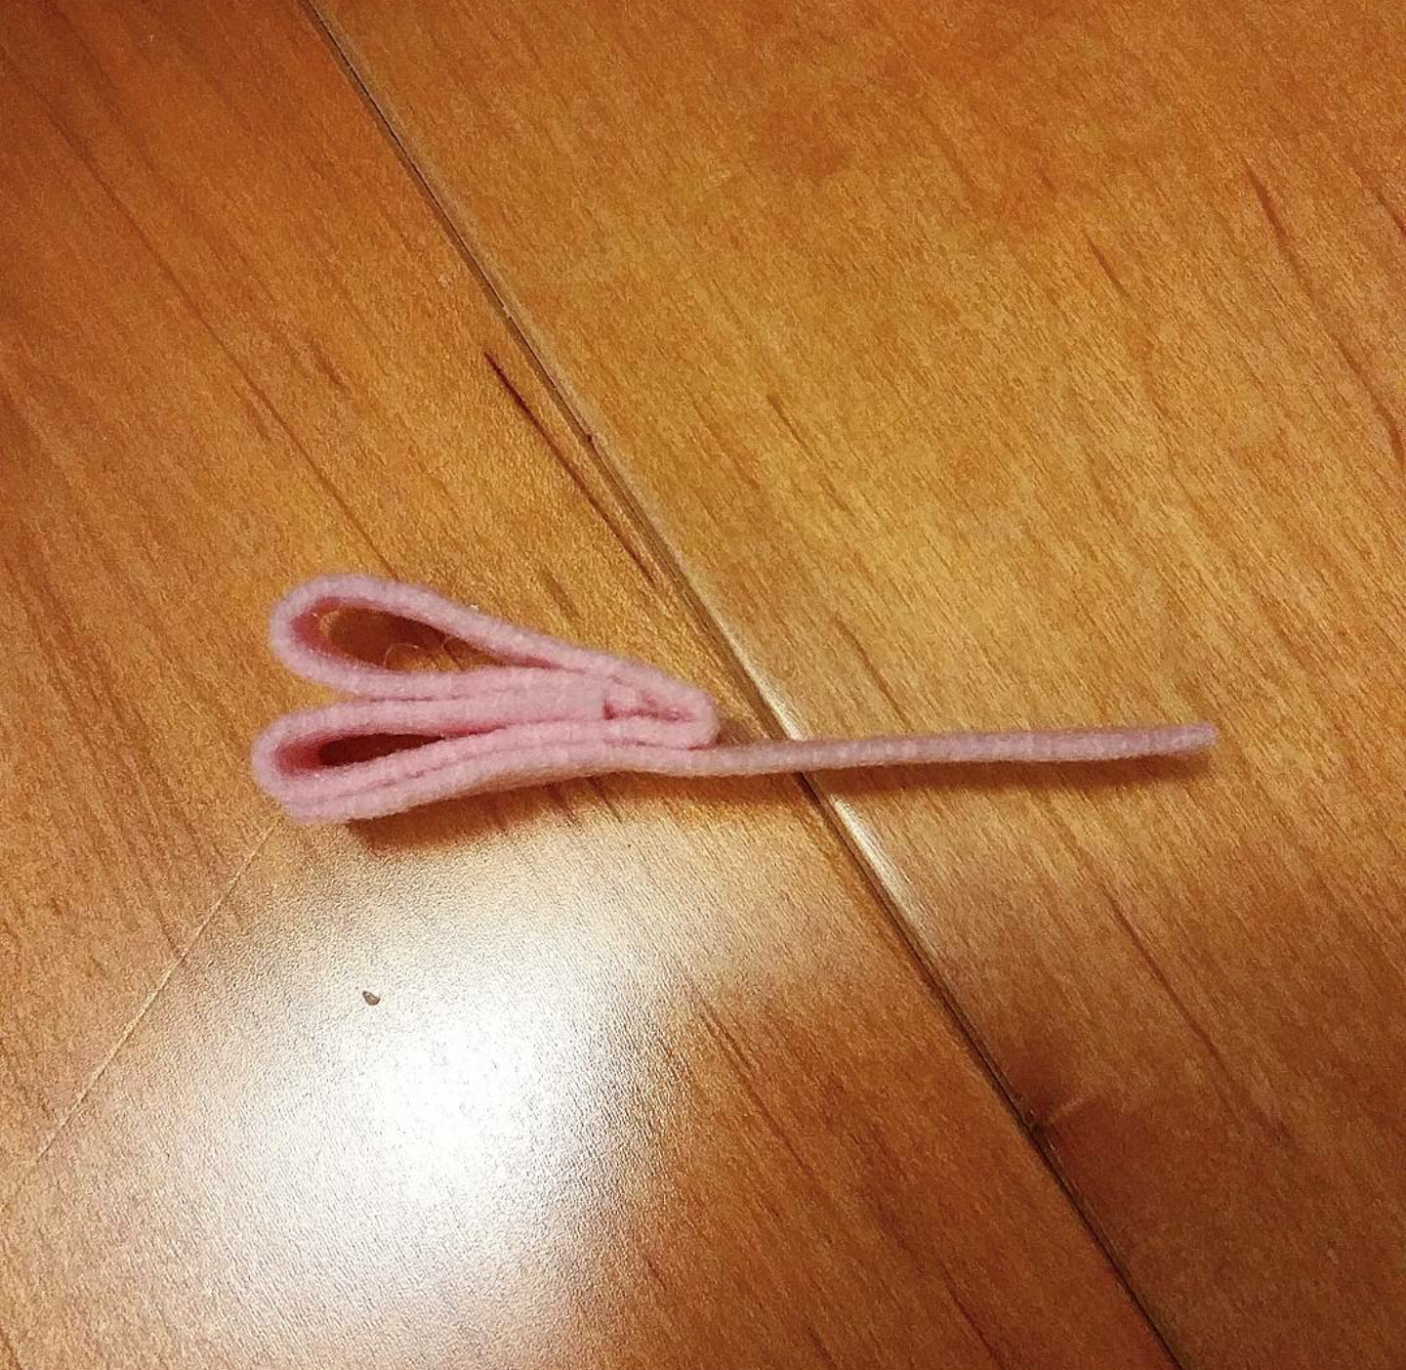
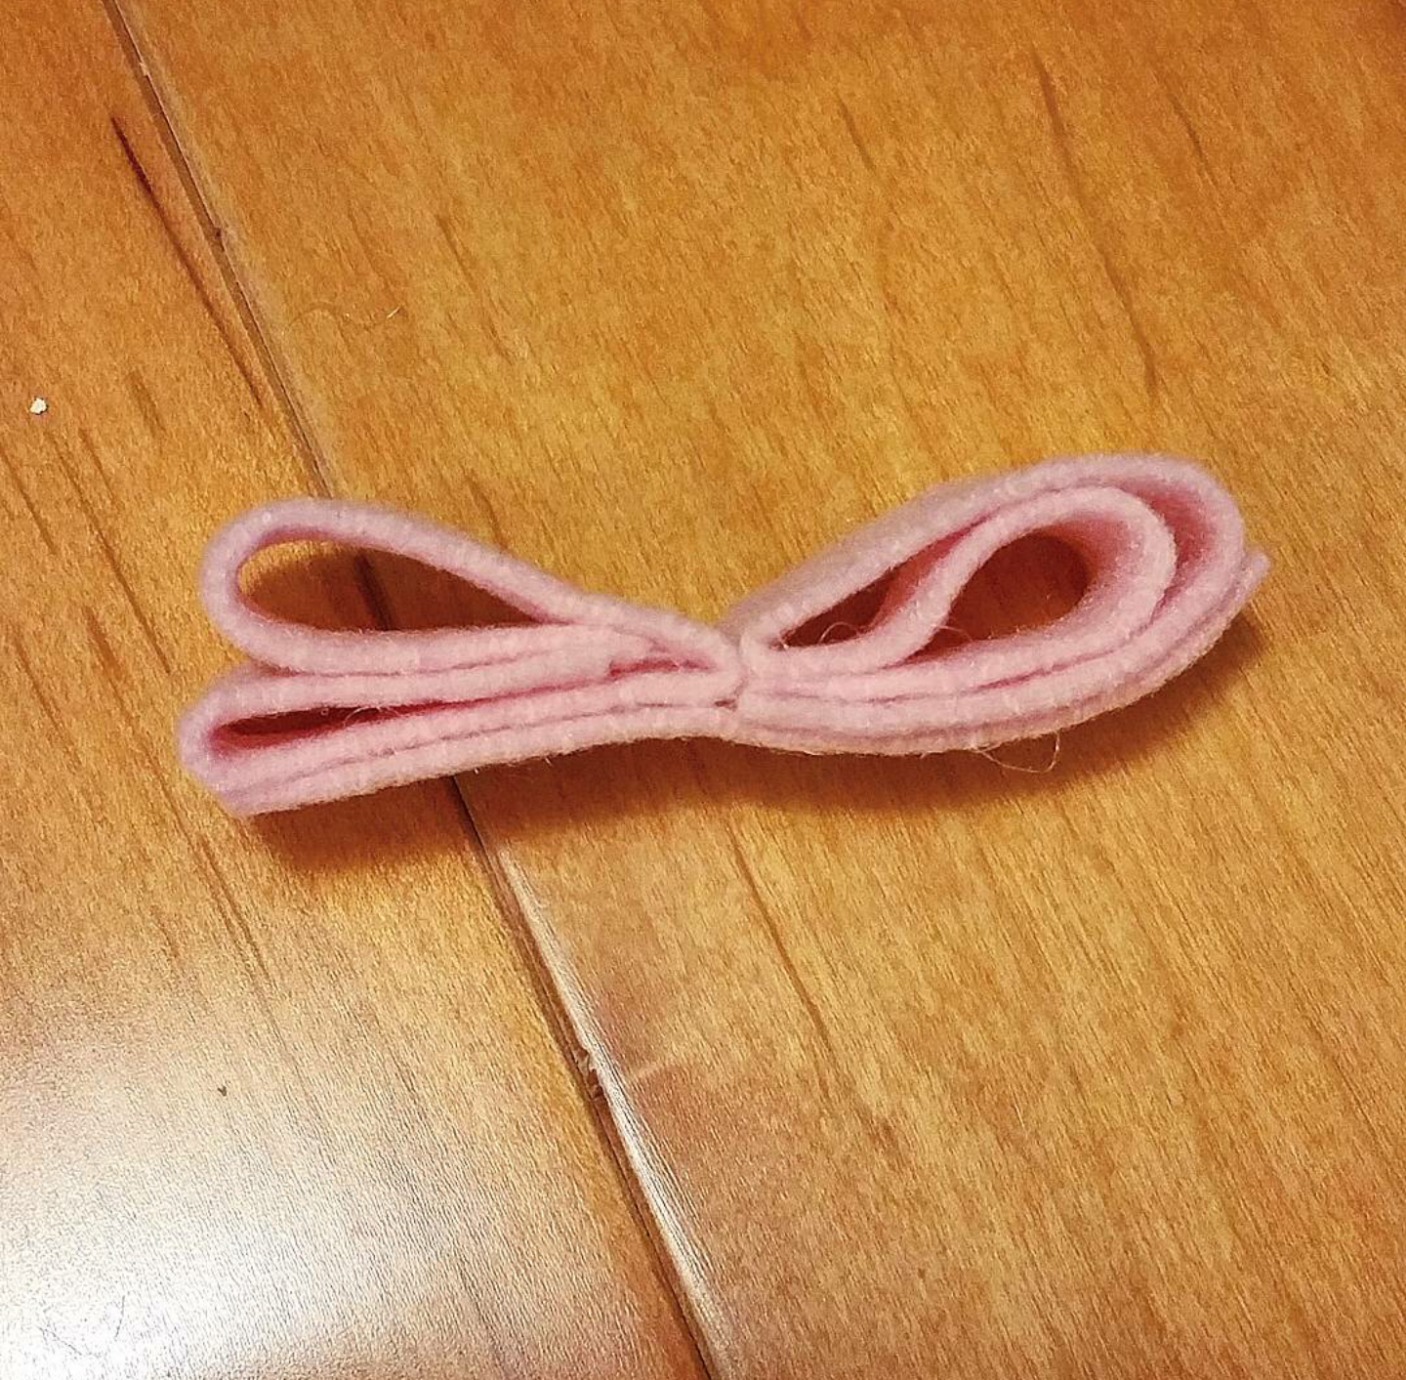
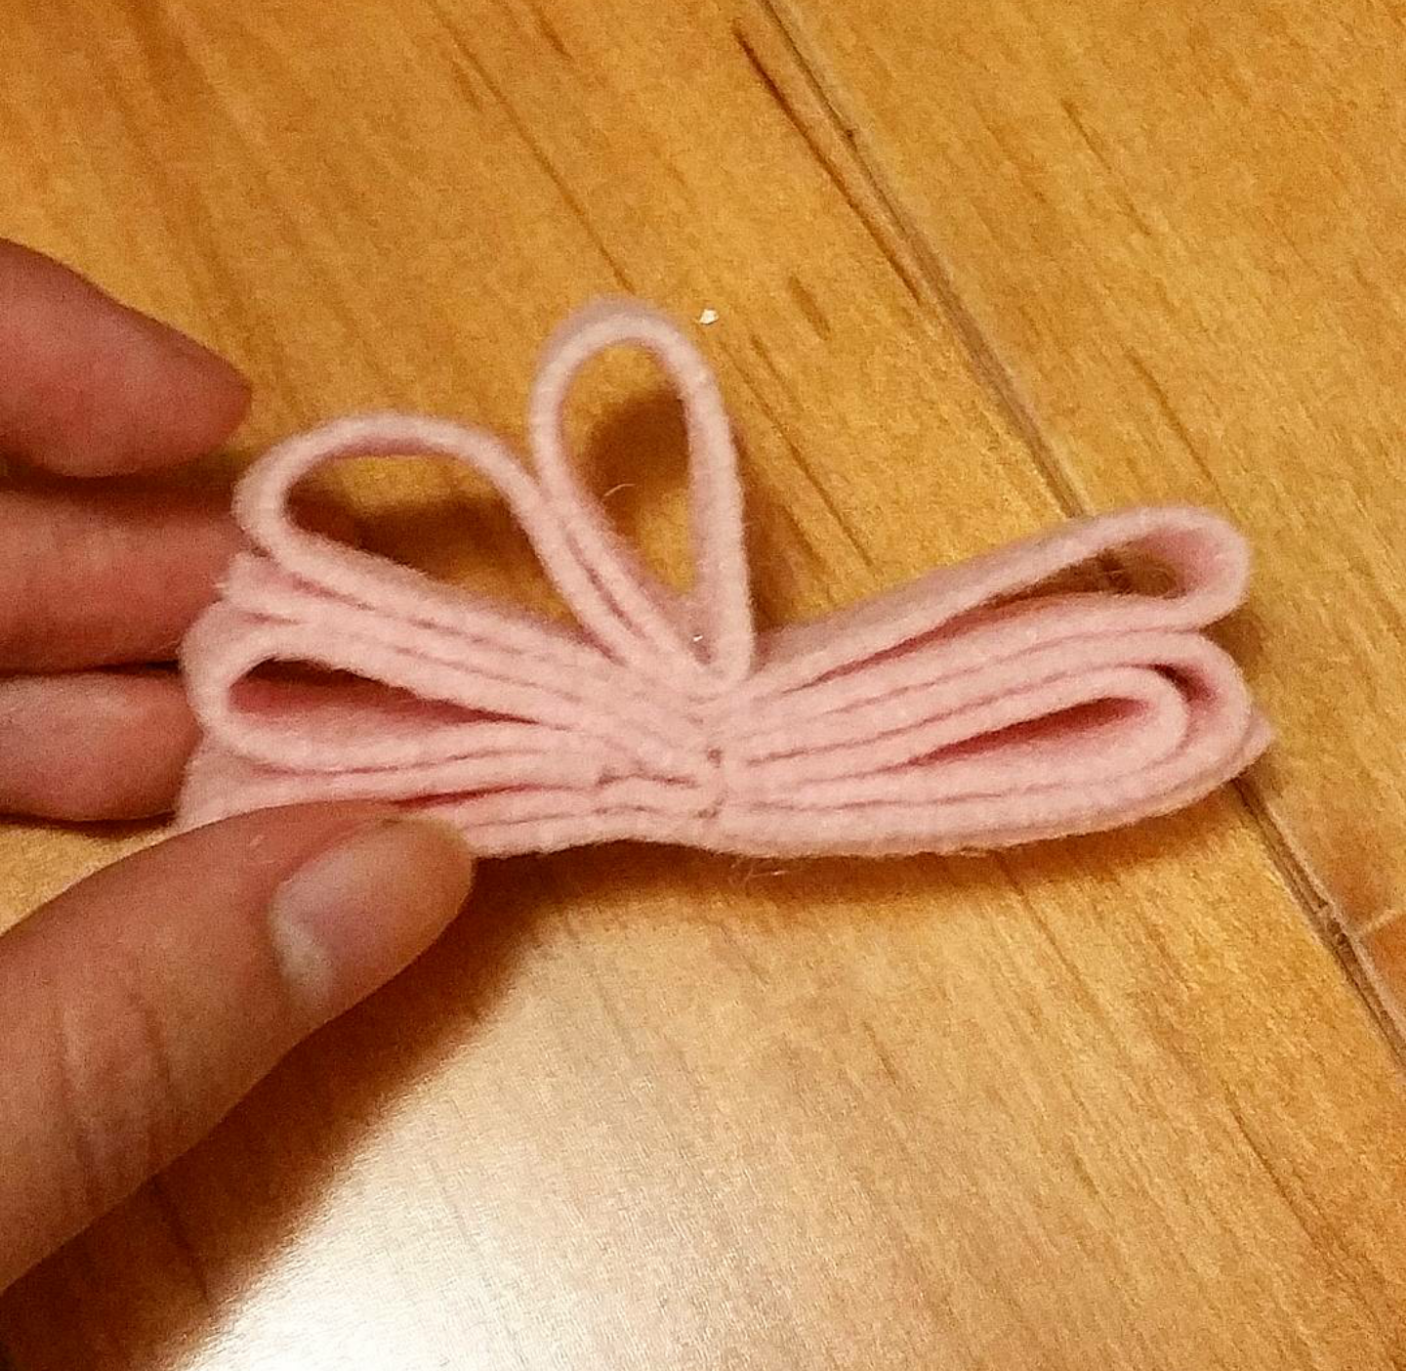
  • Stash: Cut one out on felt paper

Step 3: Act the part

And that's it! You have now become Pablo Emilio Escobar Gaviria. Guaranteed a double take on the streets.
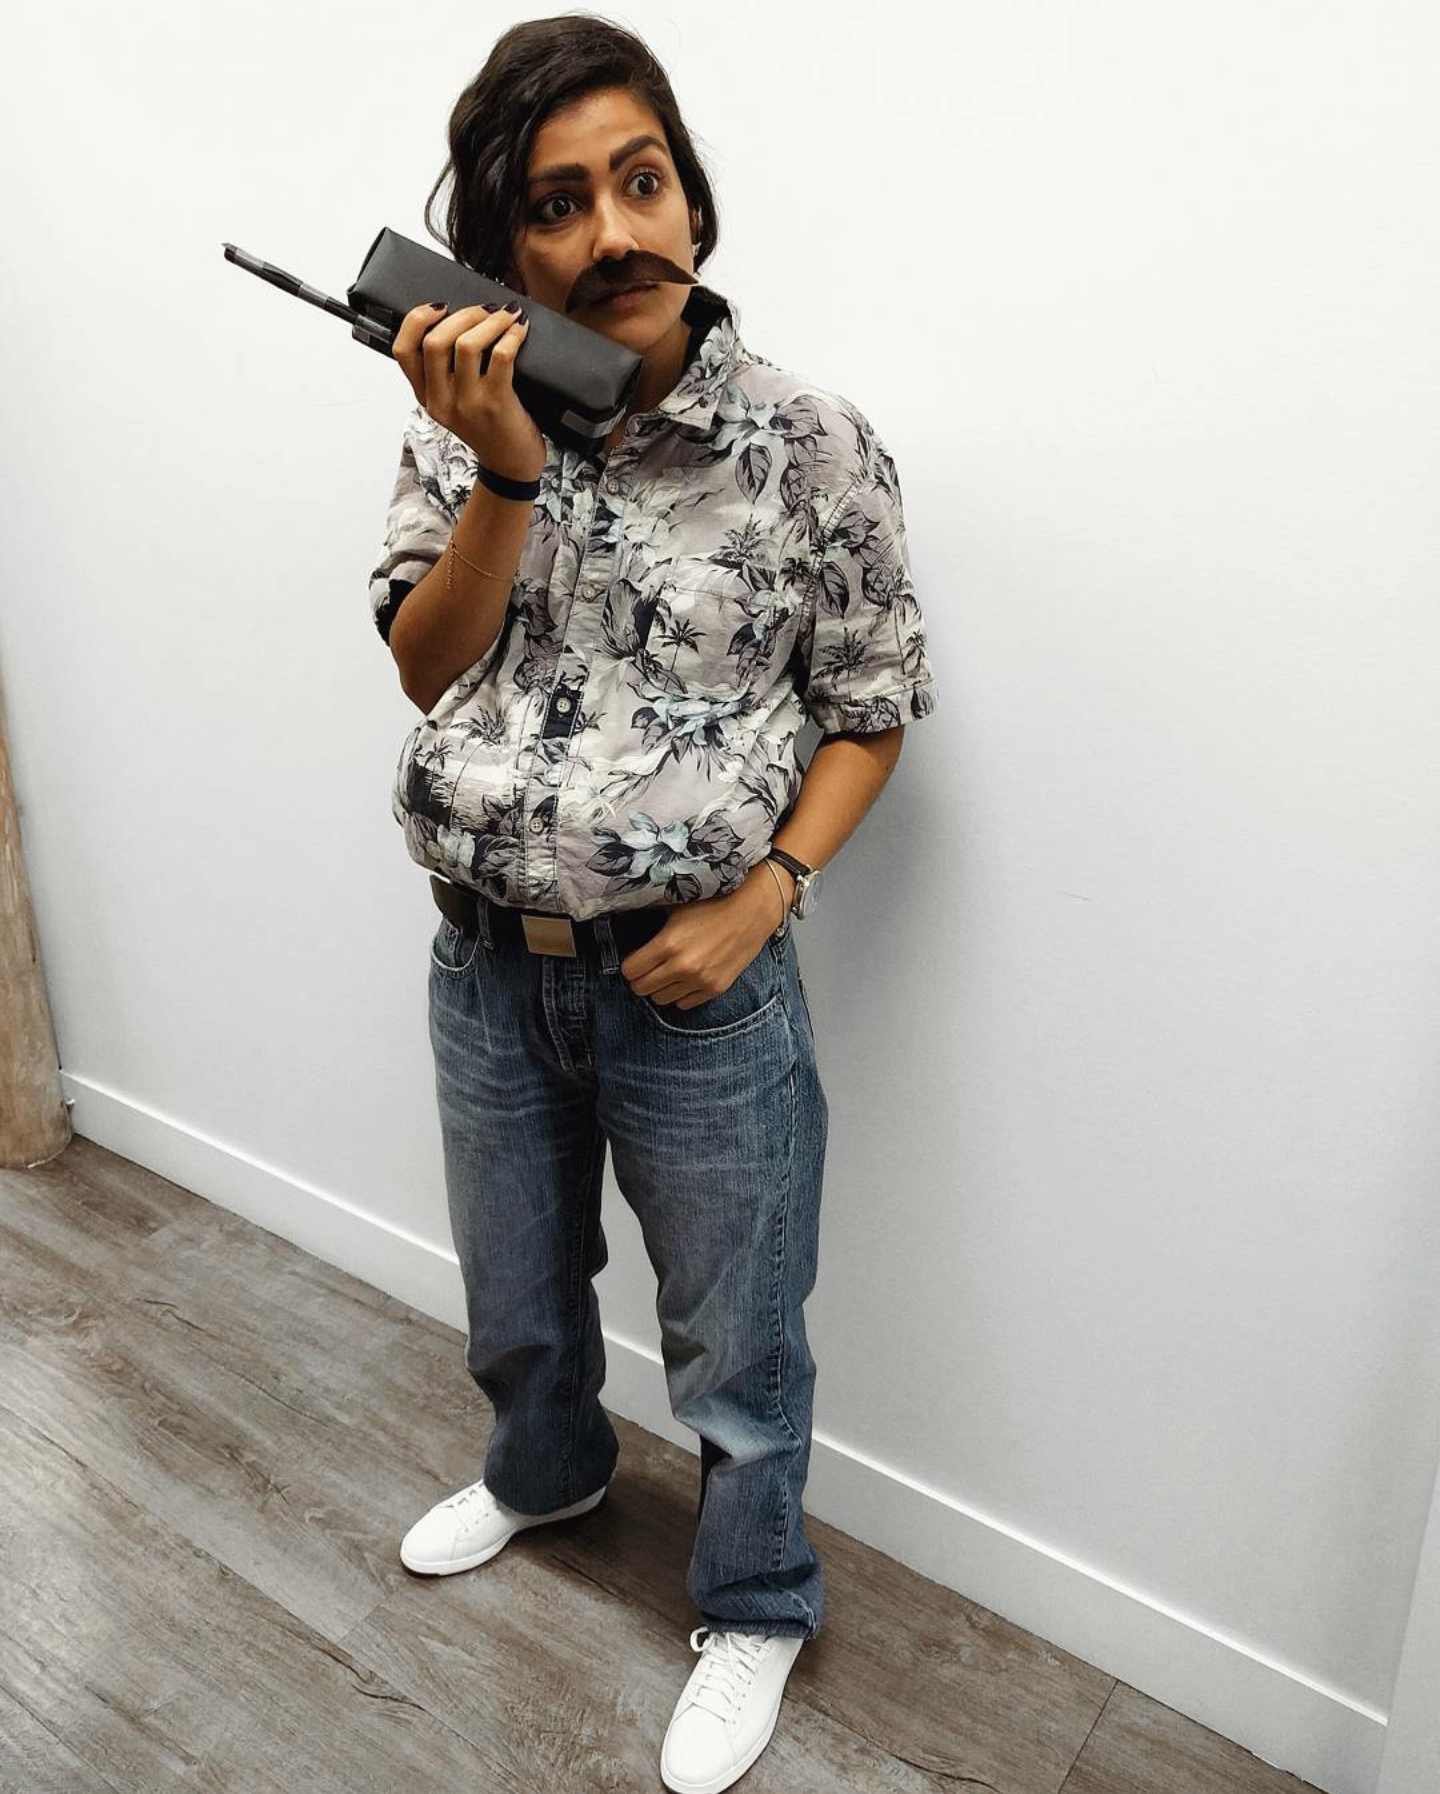
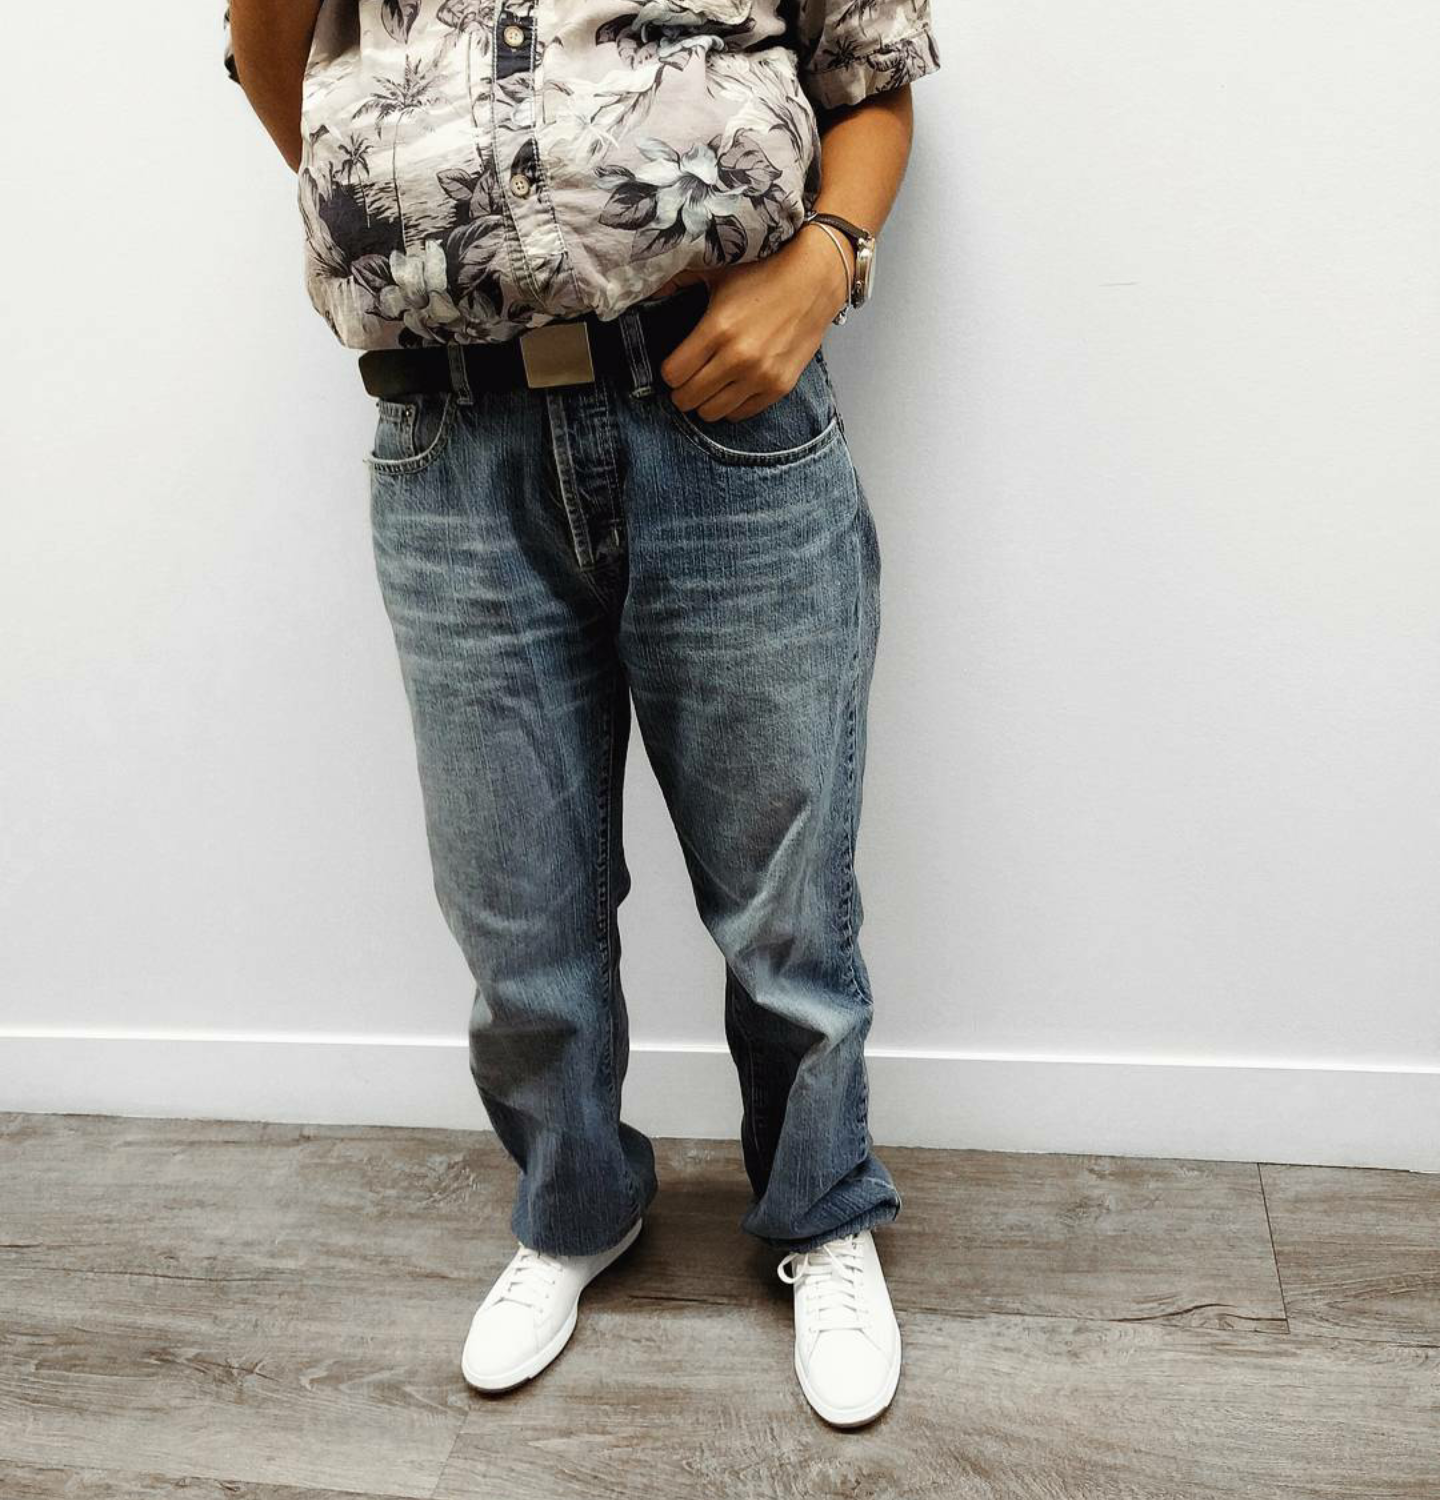
DIY: Halloween Sushi Costume (No Sew)

The theme this year for Halloween in my department at work was 'Emojis', so it was either poop or sushi. I opted for sushi because I was inspired by a cute DIY for babies online, and decided to put my own twist on it. Still one day left until Halloween so feel free to make your own sushi, save this for next year, or just go out and eat sushi like I probably will.

Materials: 1) Headband (Shown: Dollar store elastic flower headband), 2) 1x1 metre orange felt, 3) 0.5x0.5 metre white felt, 4) 1 sheet of light pink felt, 5) 0.5x0.5 metre green felt, 6) 10 centimetre x 1 metre black felt, 7) Bag of stuffing (Shown: Polyester stuffing from Fabricland), 8) White dress (Shown: Aritzia Babaton Dress), 9) Black satin belt (optional), 10) Hot glue gun and scissors

Shrimp - Orange and white felt, stuffing ; Seaweed wrap - Black felt and optional satin belt; Wasabi/Ginger headband - Headband, green and light pink felt ; Rice - White dress

PART ONE - SHRIMP

I decided to go with shrimp, but you can opt for tuna, salmon, unagi or whatever sashimi floats your boat.

Step 1 - Fold the orange felt in half, then trace an outline of a shrimp. Draw it slightly larger than you want the shrimp to be, to allow room to hot glue the edges.

Step 2 - Cut out the outline being careful to line up both sides of the felt.

Step 3 - You should now have 2 identical (or nearly) shrimp outlines. Place them directly on top of each other to prepare for hot glue.

Step 4 - Once your hot glue gun is warmed up, glue along the edges of the shrimp starting at the top and working your way to the tail. Leave enough room at the tail for stuffing.

Step 5 - Leave the inside edges of the tail unglued to allow room to put in the stuffing. Set aside the shrimp for now.

Step 6 - Fold the white felt in half and cut 4 small stripes to add dimension to the shrimp. I used this image as a gauge.

Step 7 - Hot glue the stripes onto the shrimp then begin stuffing it from the tail.

Step 8 - Hot glue the inner sides of the tail to secure the stuffing inside the shrimp.

Voila! You're now done with your shrimp :). Try not to eat it.

PART TWO - WASABI/GINGER HEADBAND

A) WASABI

Step 1 - Cut out 9 small circles about 2 inches wide from the green felt. 

Step 2 - Take 1 circle and fold it in half twice.

Step 3 - Take the double folded circle and hot glue it to another circle for the base.

Step 4 - Double fold 3 more circles and hot glue it to the base to make a full pizza.

Step 5 - We're now going to create a second layer using the same steps as above. Double fold 4 more circles and hot glue it in the same manner.

Step 6 - Take two connecting sides of the double layer pizza and hot glue it as shown in the left image below. Do the same to the other two connecting sides.

Step 7 - Fluff out the wasabi to make it look more natural.

You're now finished with the wasabi!

B) GINGER

Step 1 - Cut 4 long strips from the light pink felt. No need for a ruler, we don't need precision here.

Step 2 - Take 1 strip and cut it into about 9 cm. Fold the two ends into the middle so it forms 2 loops/bunny ears.

Step 3 - Hot glue one side of the bunny ears onto 1 long strip for the base, as shown in the right image below.

Step 4 - Shorten the long strip used as the base into about 6 cm.

Step 5 - Repeat the same steps to the other side of the base, hot gluing a double loop/bunny ears.

Step 6 - Continue to hot glue more loops, creating the shape of a fan, similar to NBC's logo or a peacock's tail.

Step 7 - Glue the final loop together and you should end up with something similar to the left image below. The more imperfect it is, the more natural it'll look.

Step 8 - Now hot glue the wasabi and ginger onto a headband (I removed the flowers from the one I got) and you're done!

PART THREE - SEAWEED BELT

Step 1 - The black felt wasn't long enough to tie, so I glued a satin belt onto the ends to secure it better to my body.

And fini! Now let's put everything together...

This is the only time you'll ever see me do a peace sign in a picture. What I love about this costume is the polyester filled shrimp doubles as a soft pillow that you can now use post-Halloween. You have the option of using other fabric, but felt was the cheapest I could find. This entire DIY was under $30.

Happy Sushi making :)