
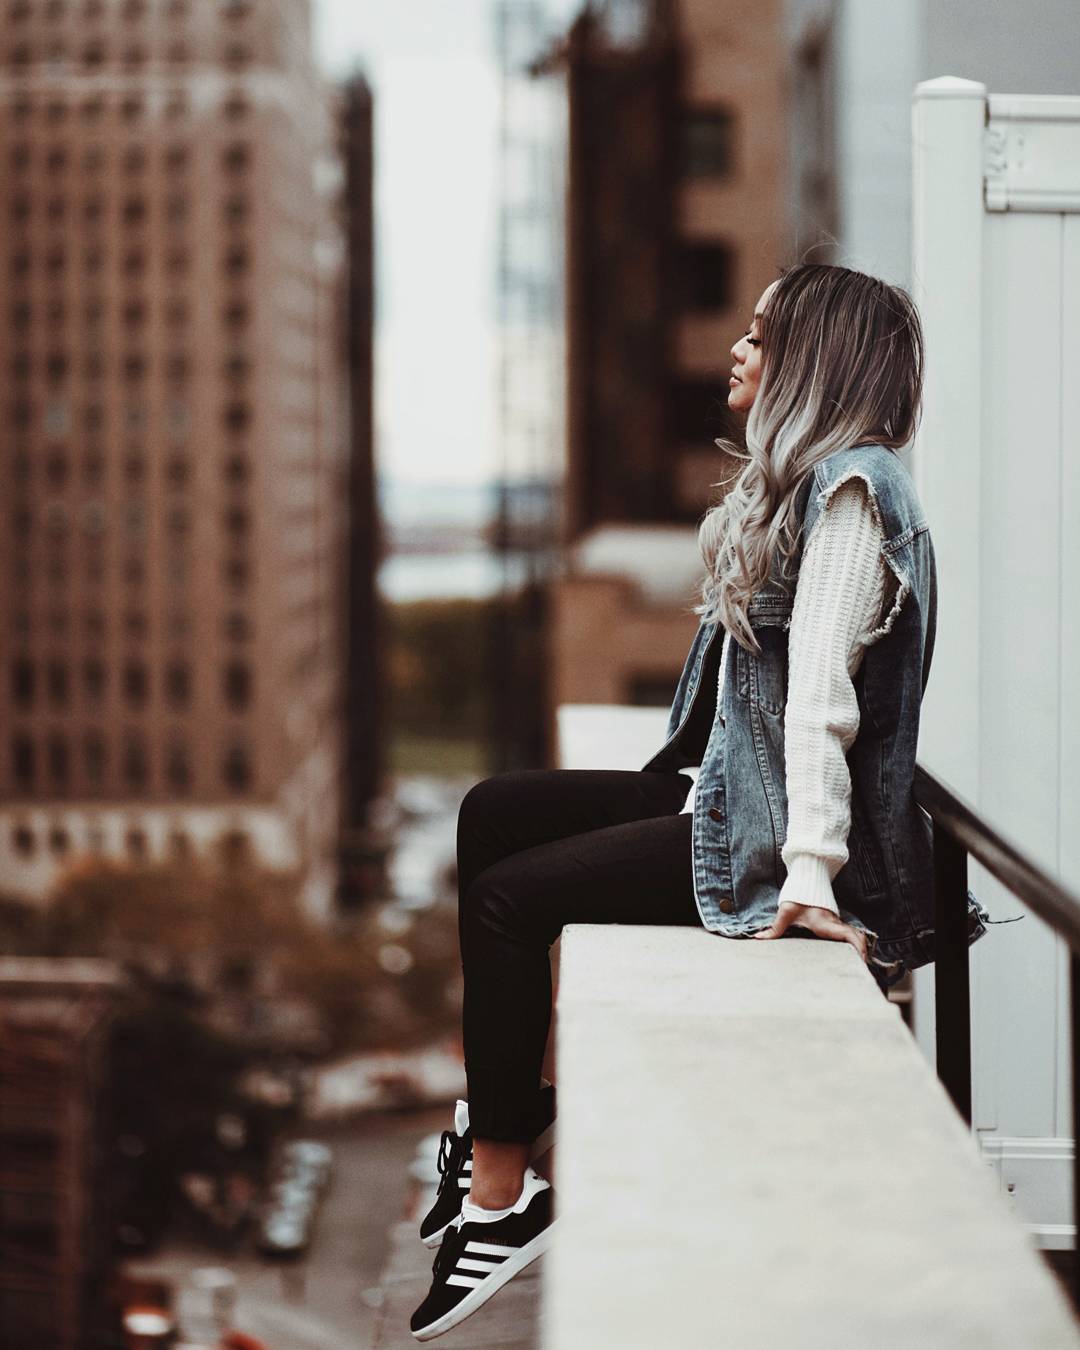
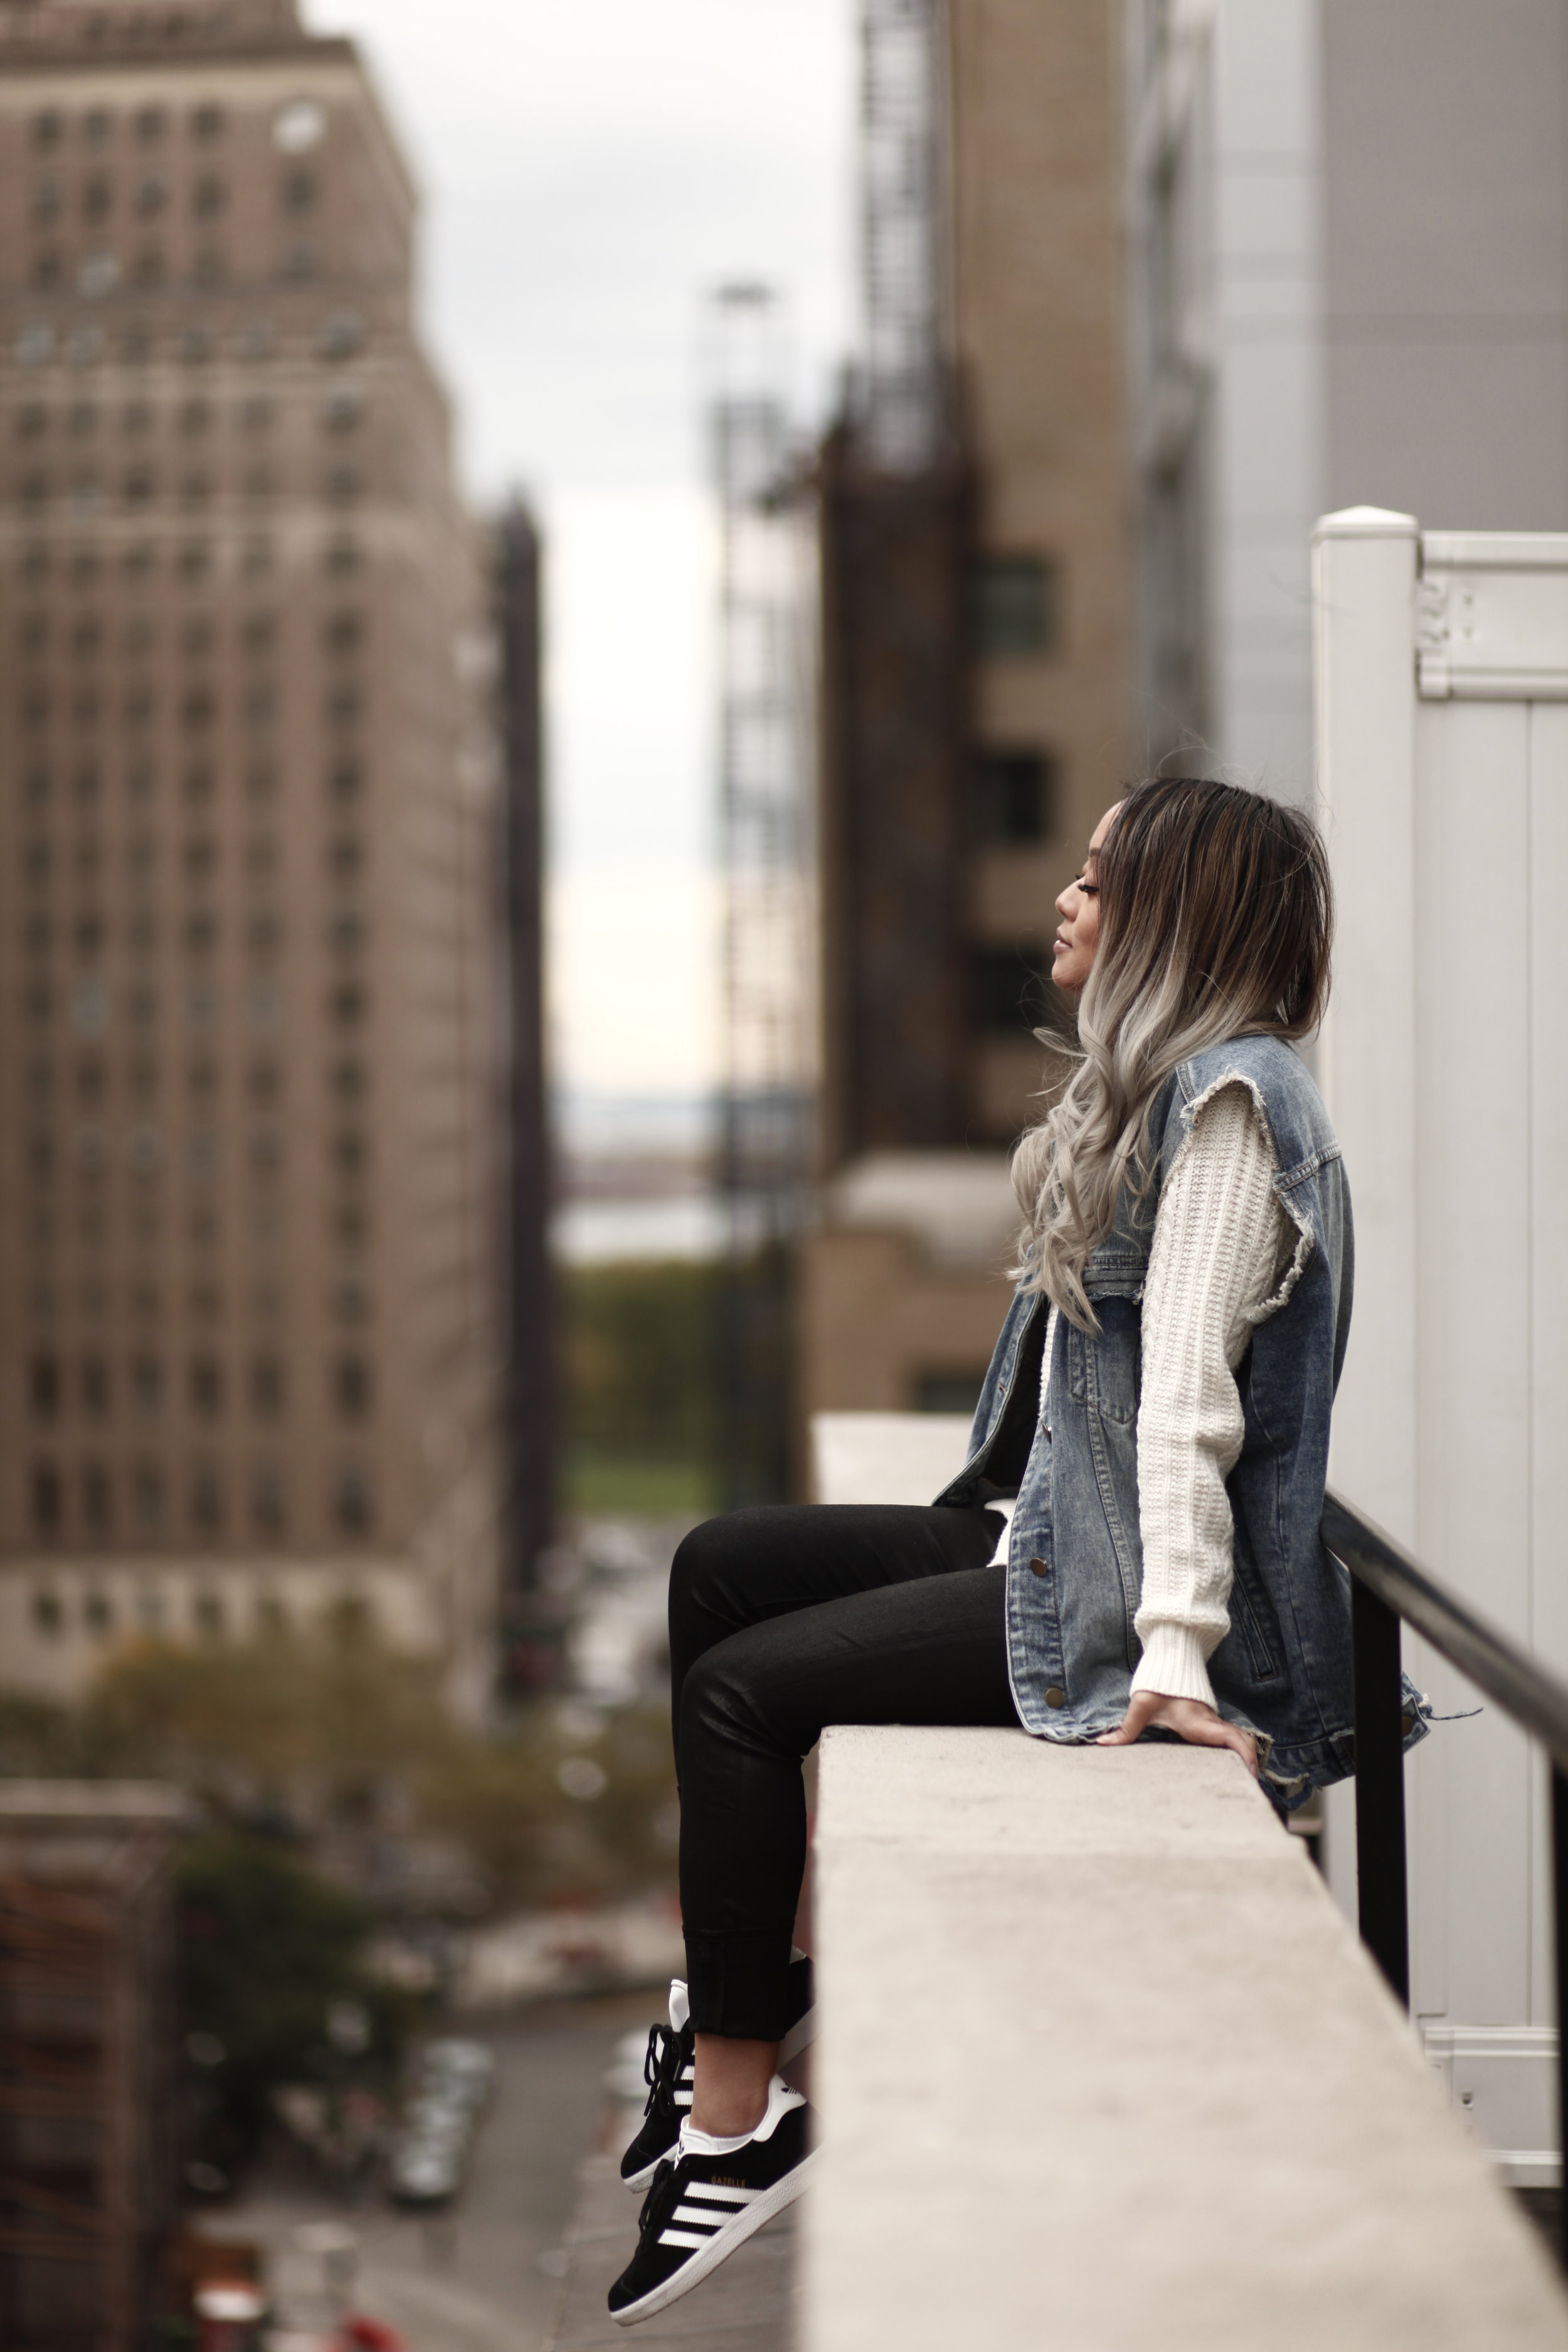
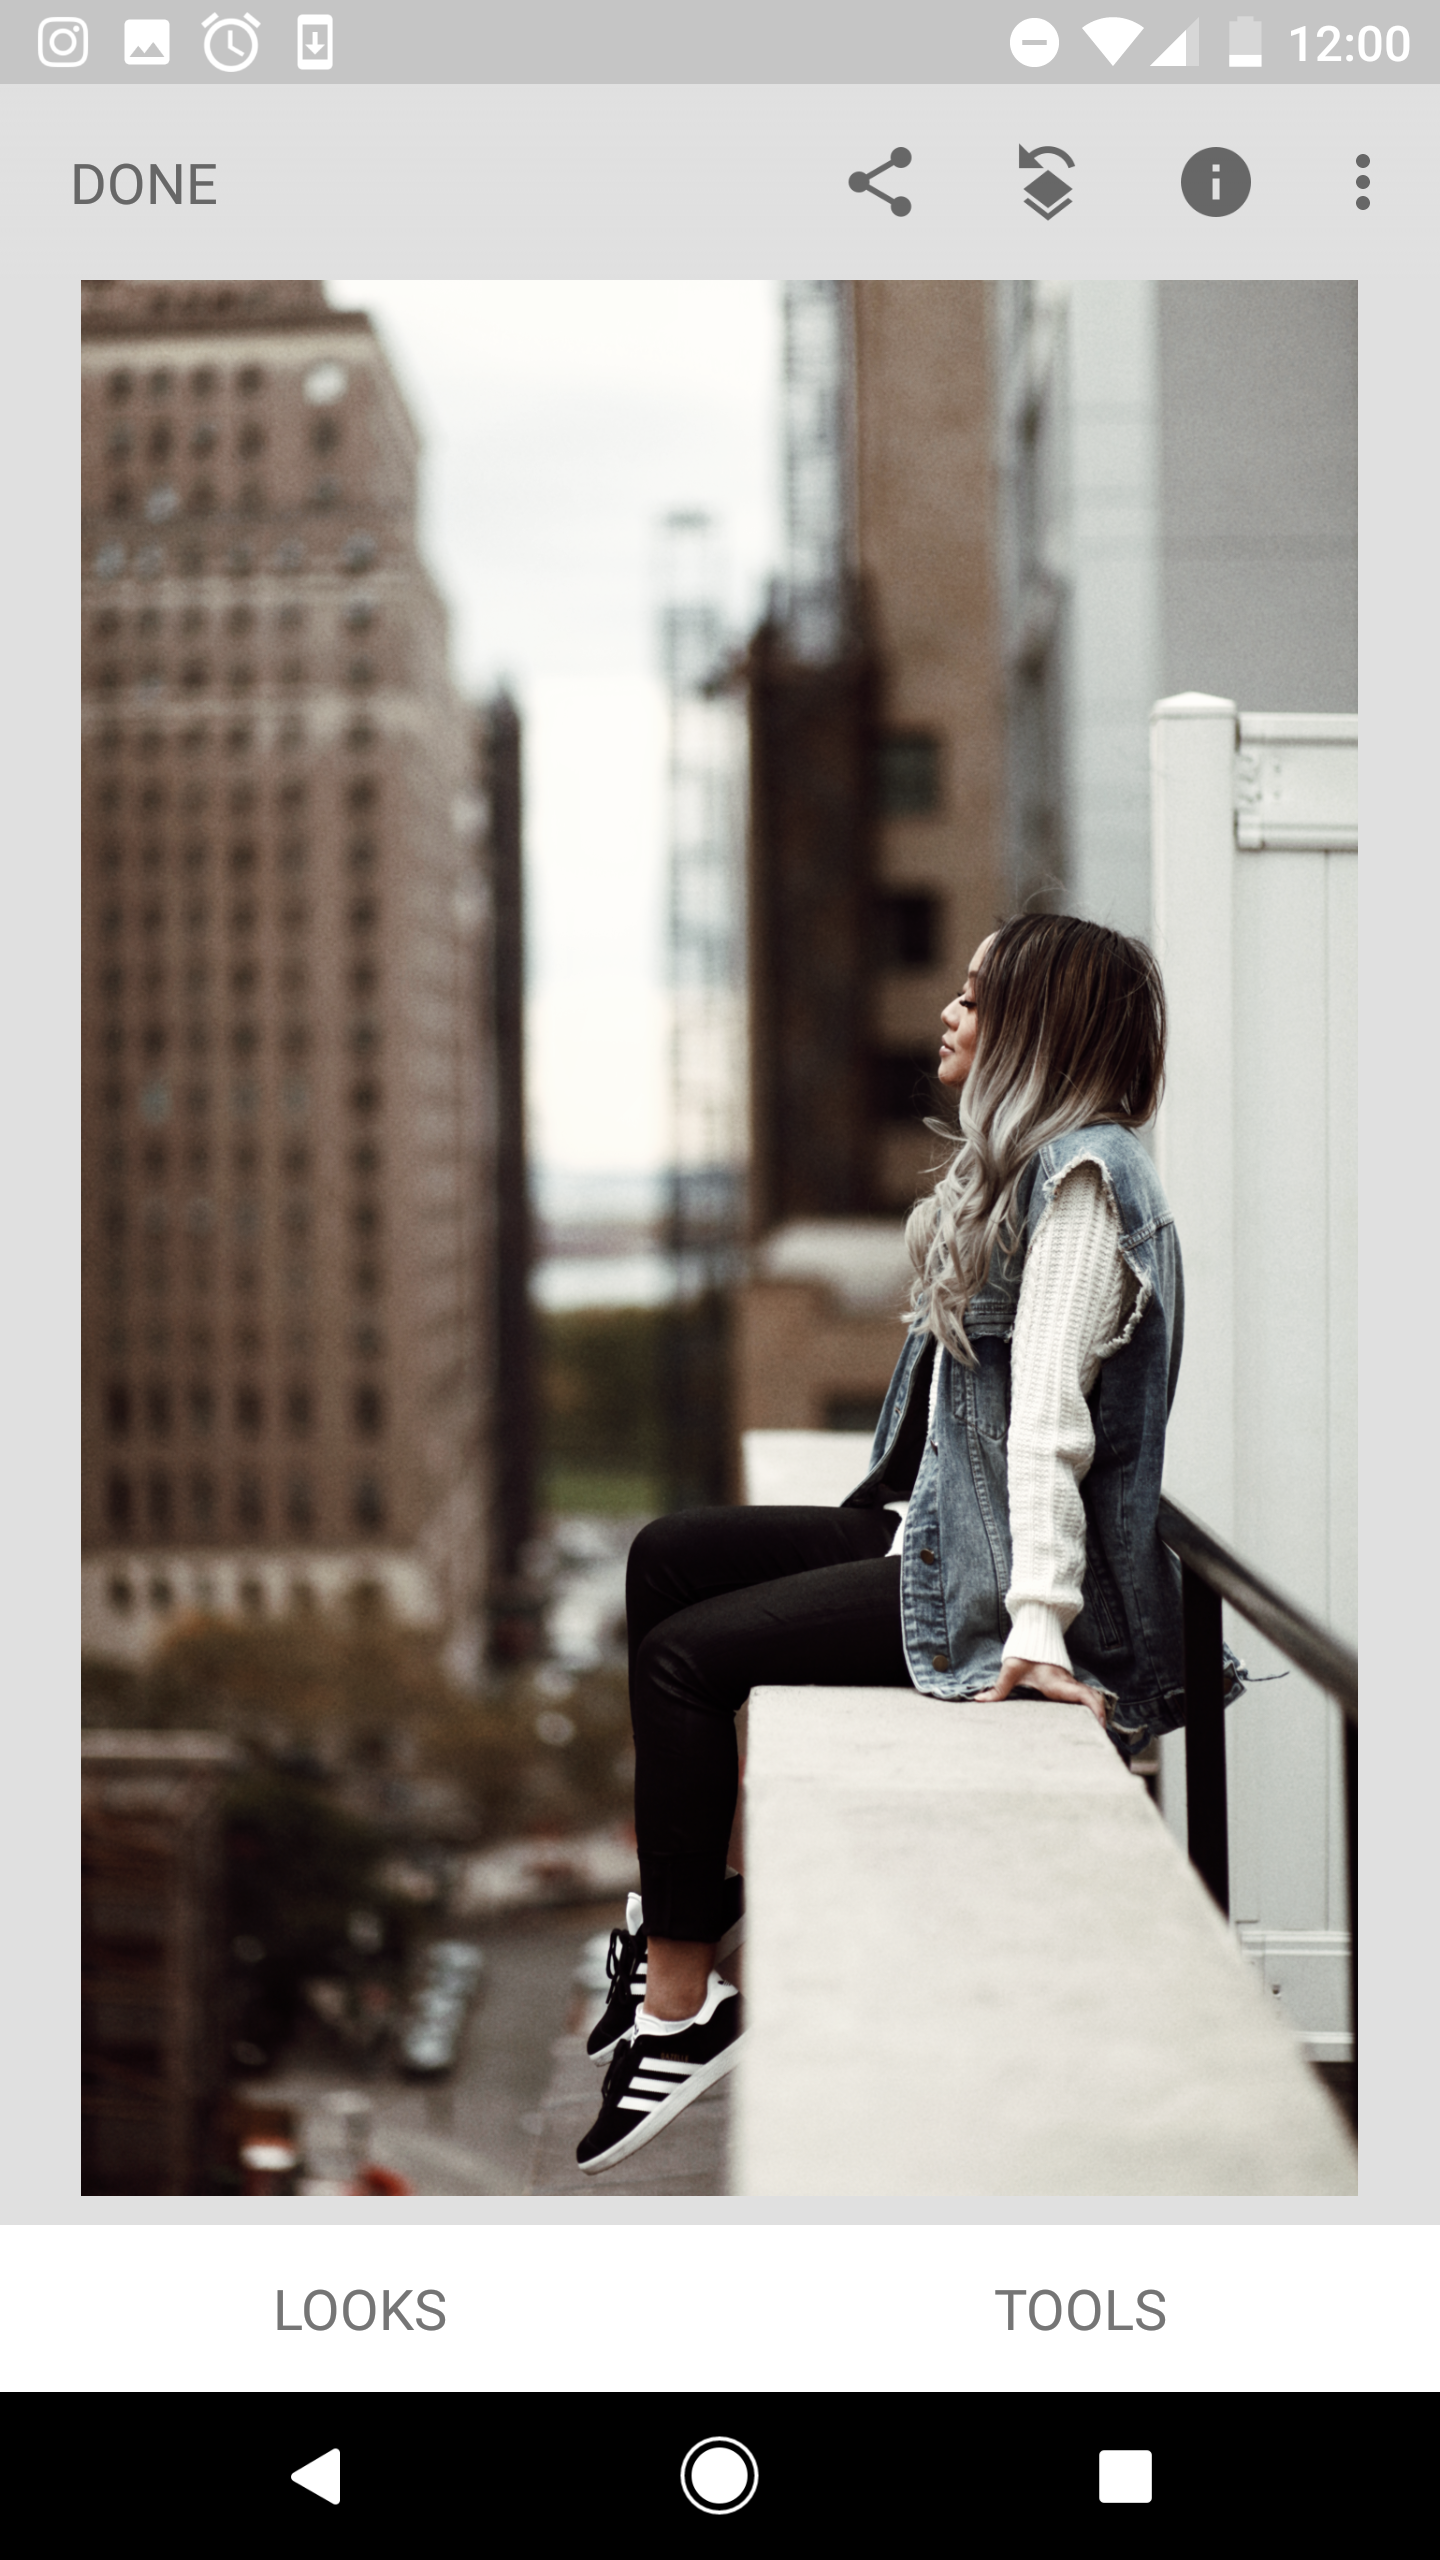
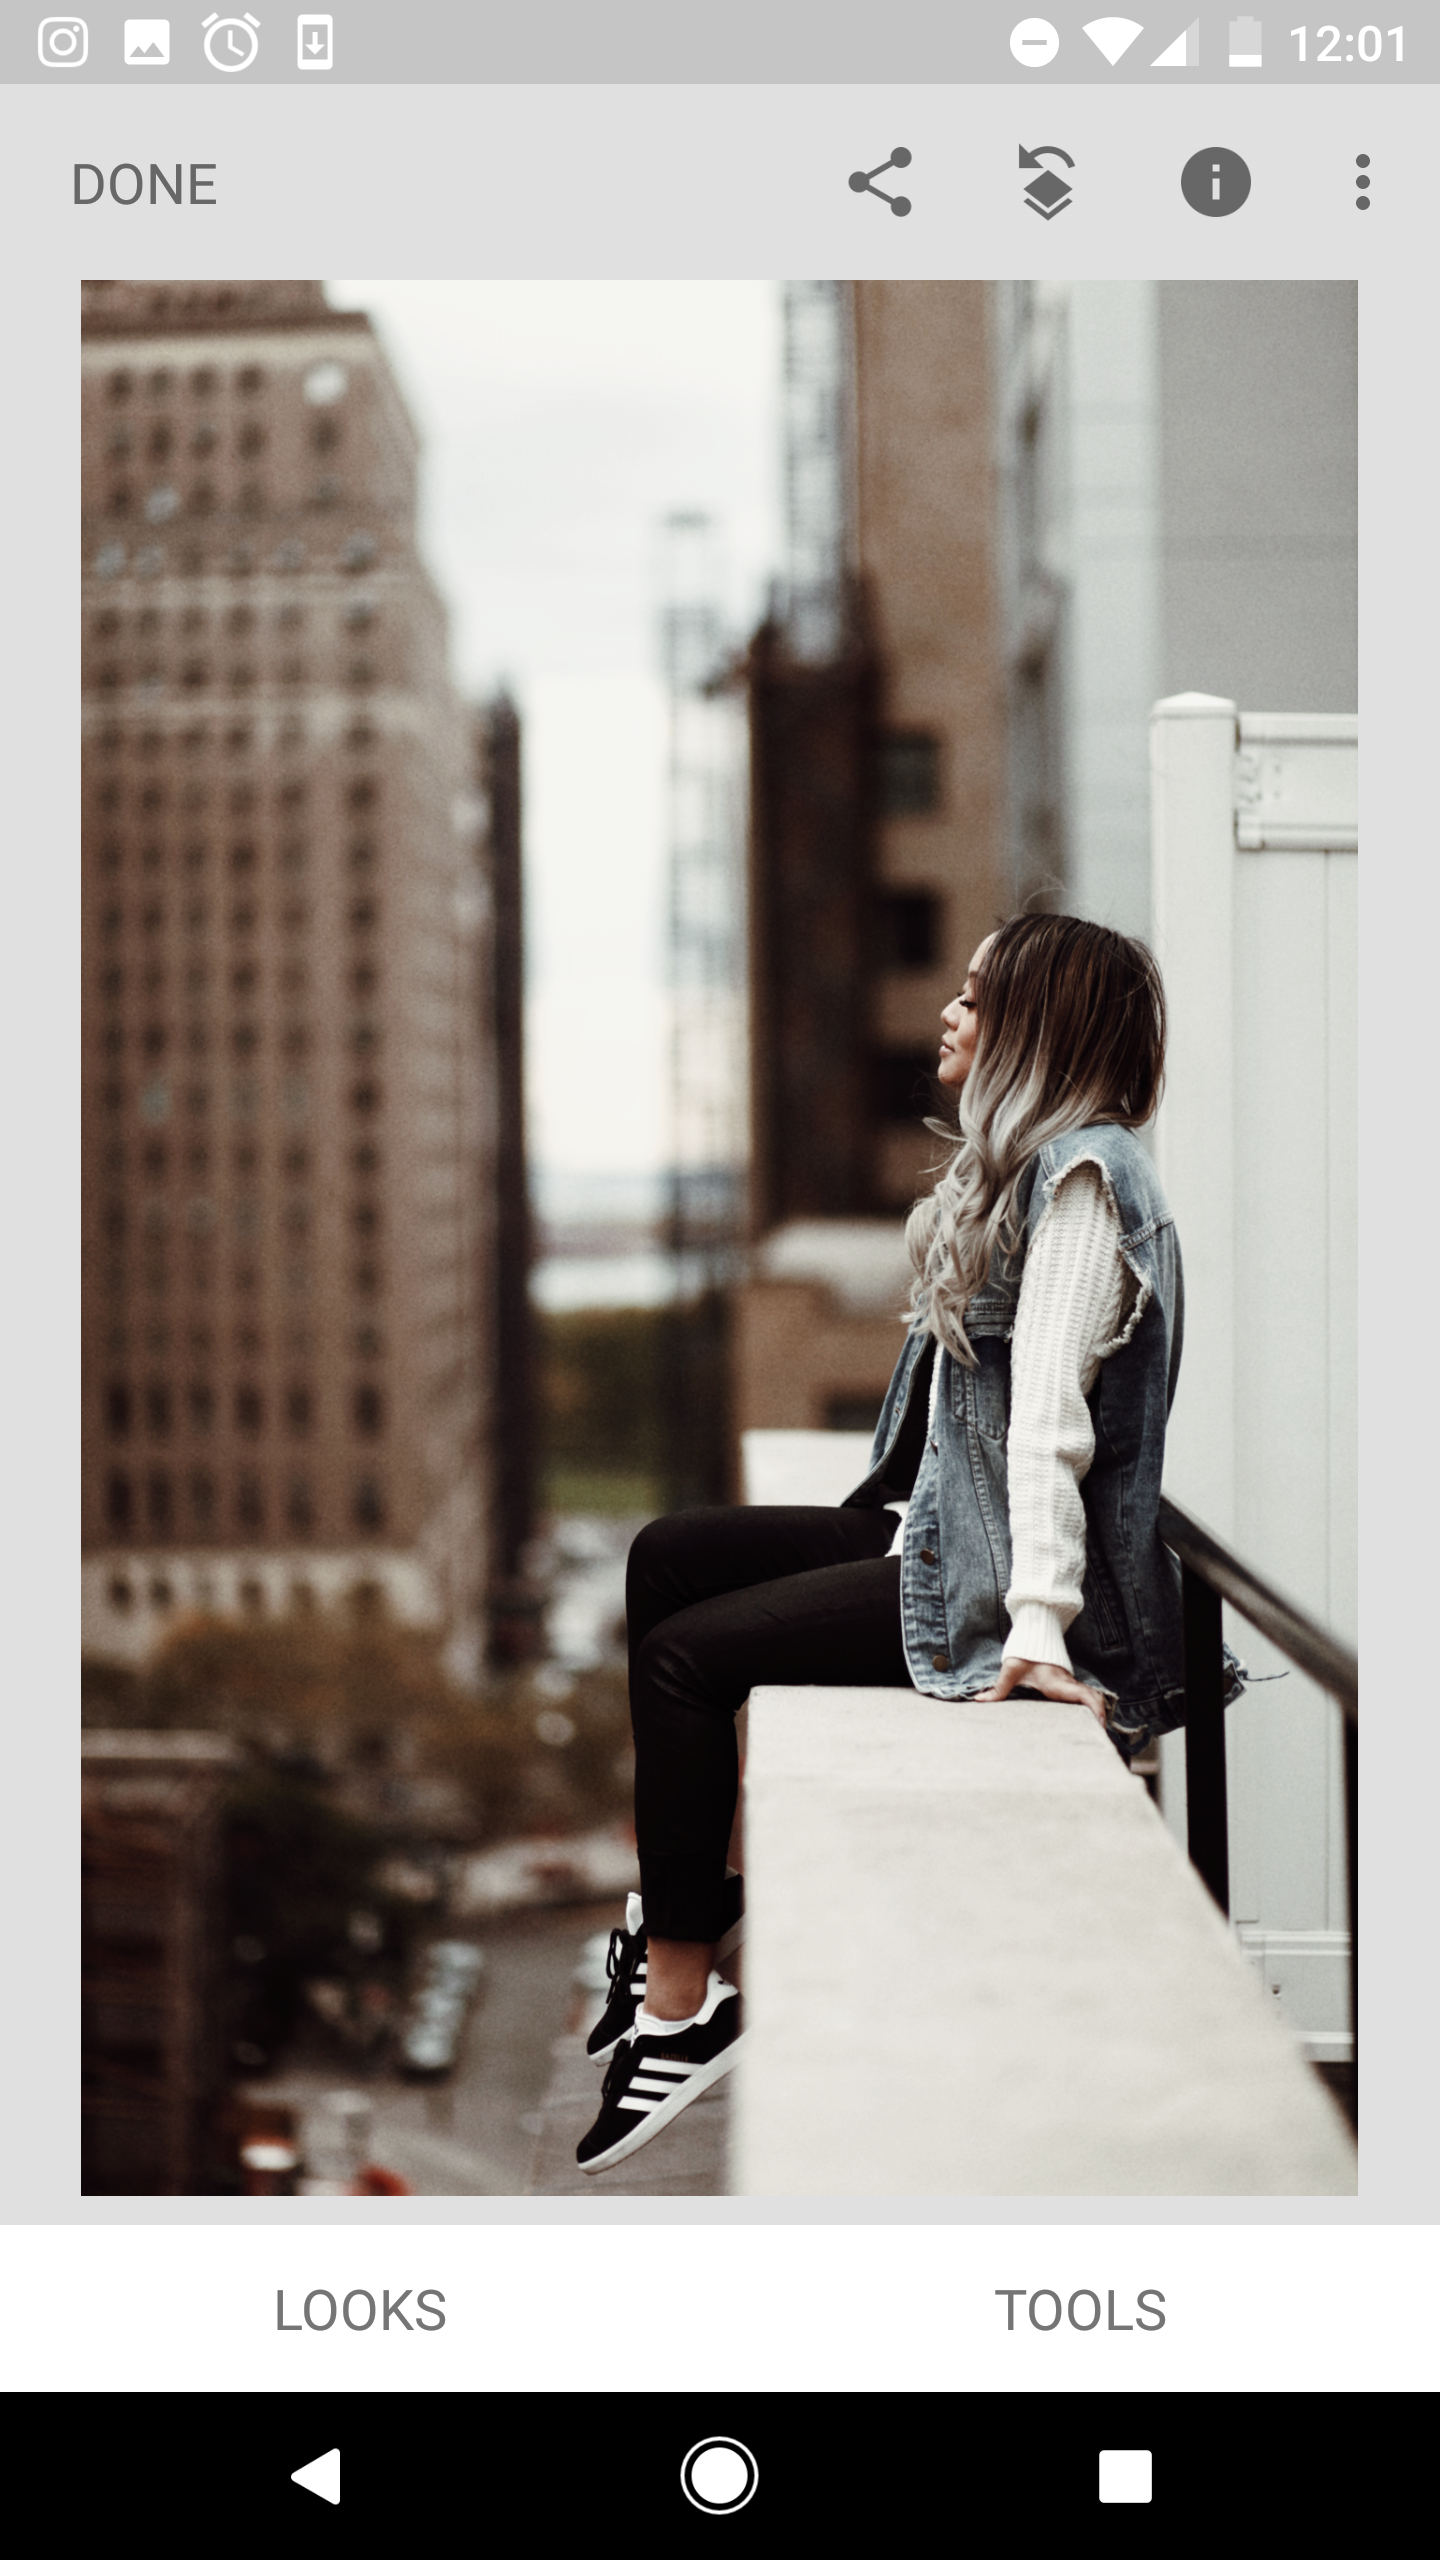
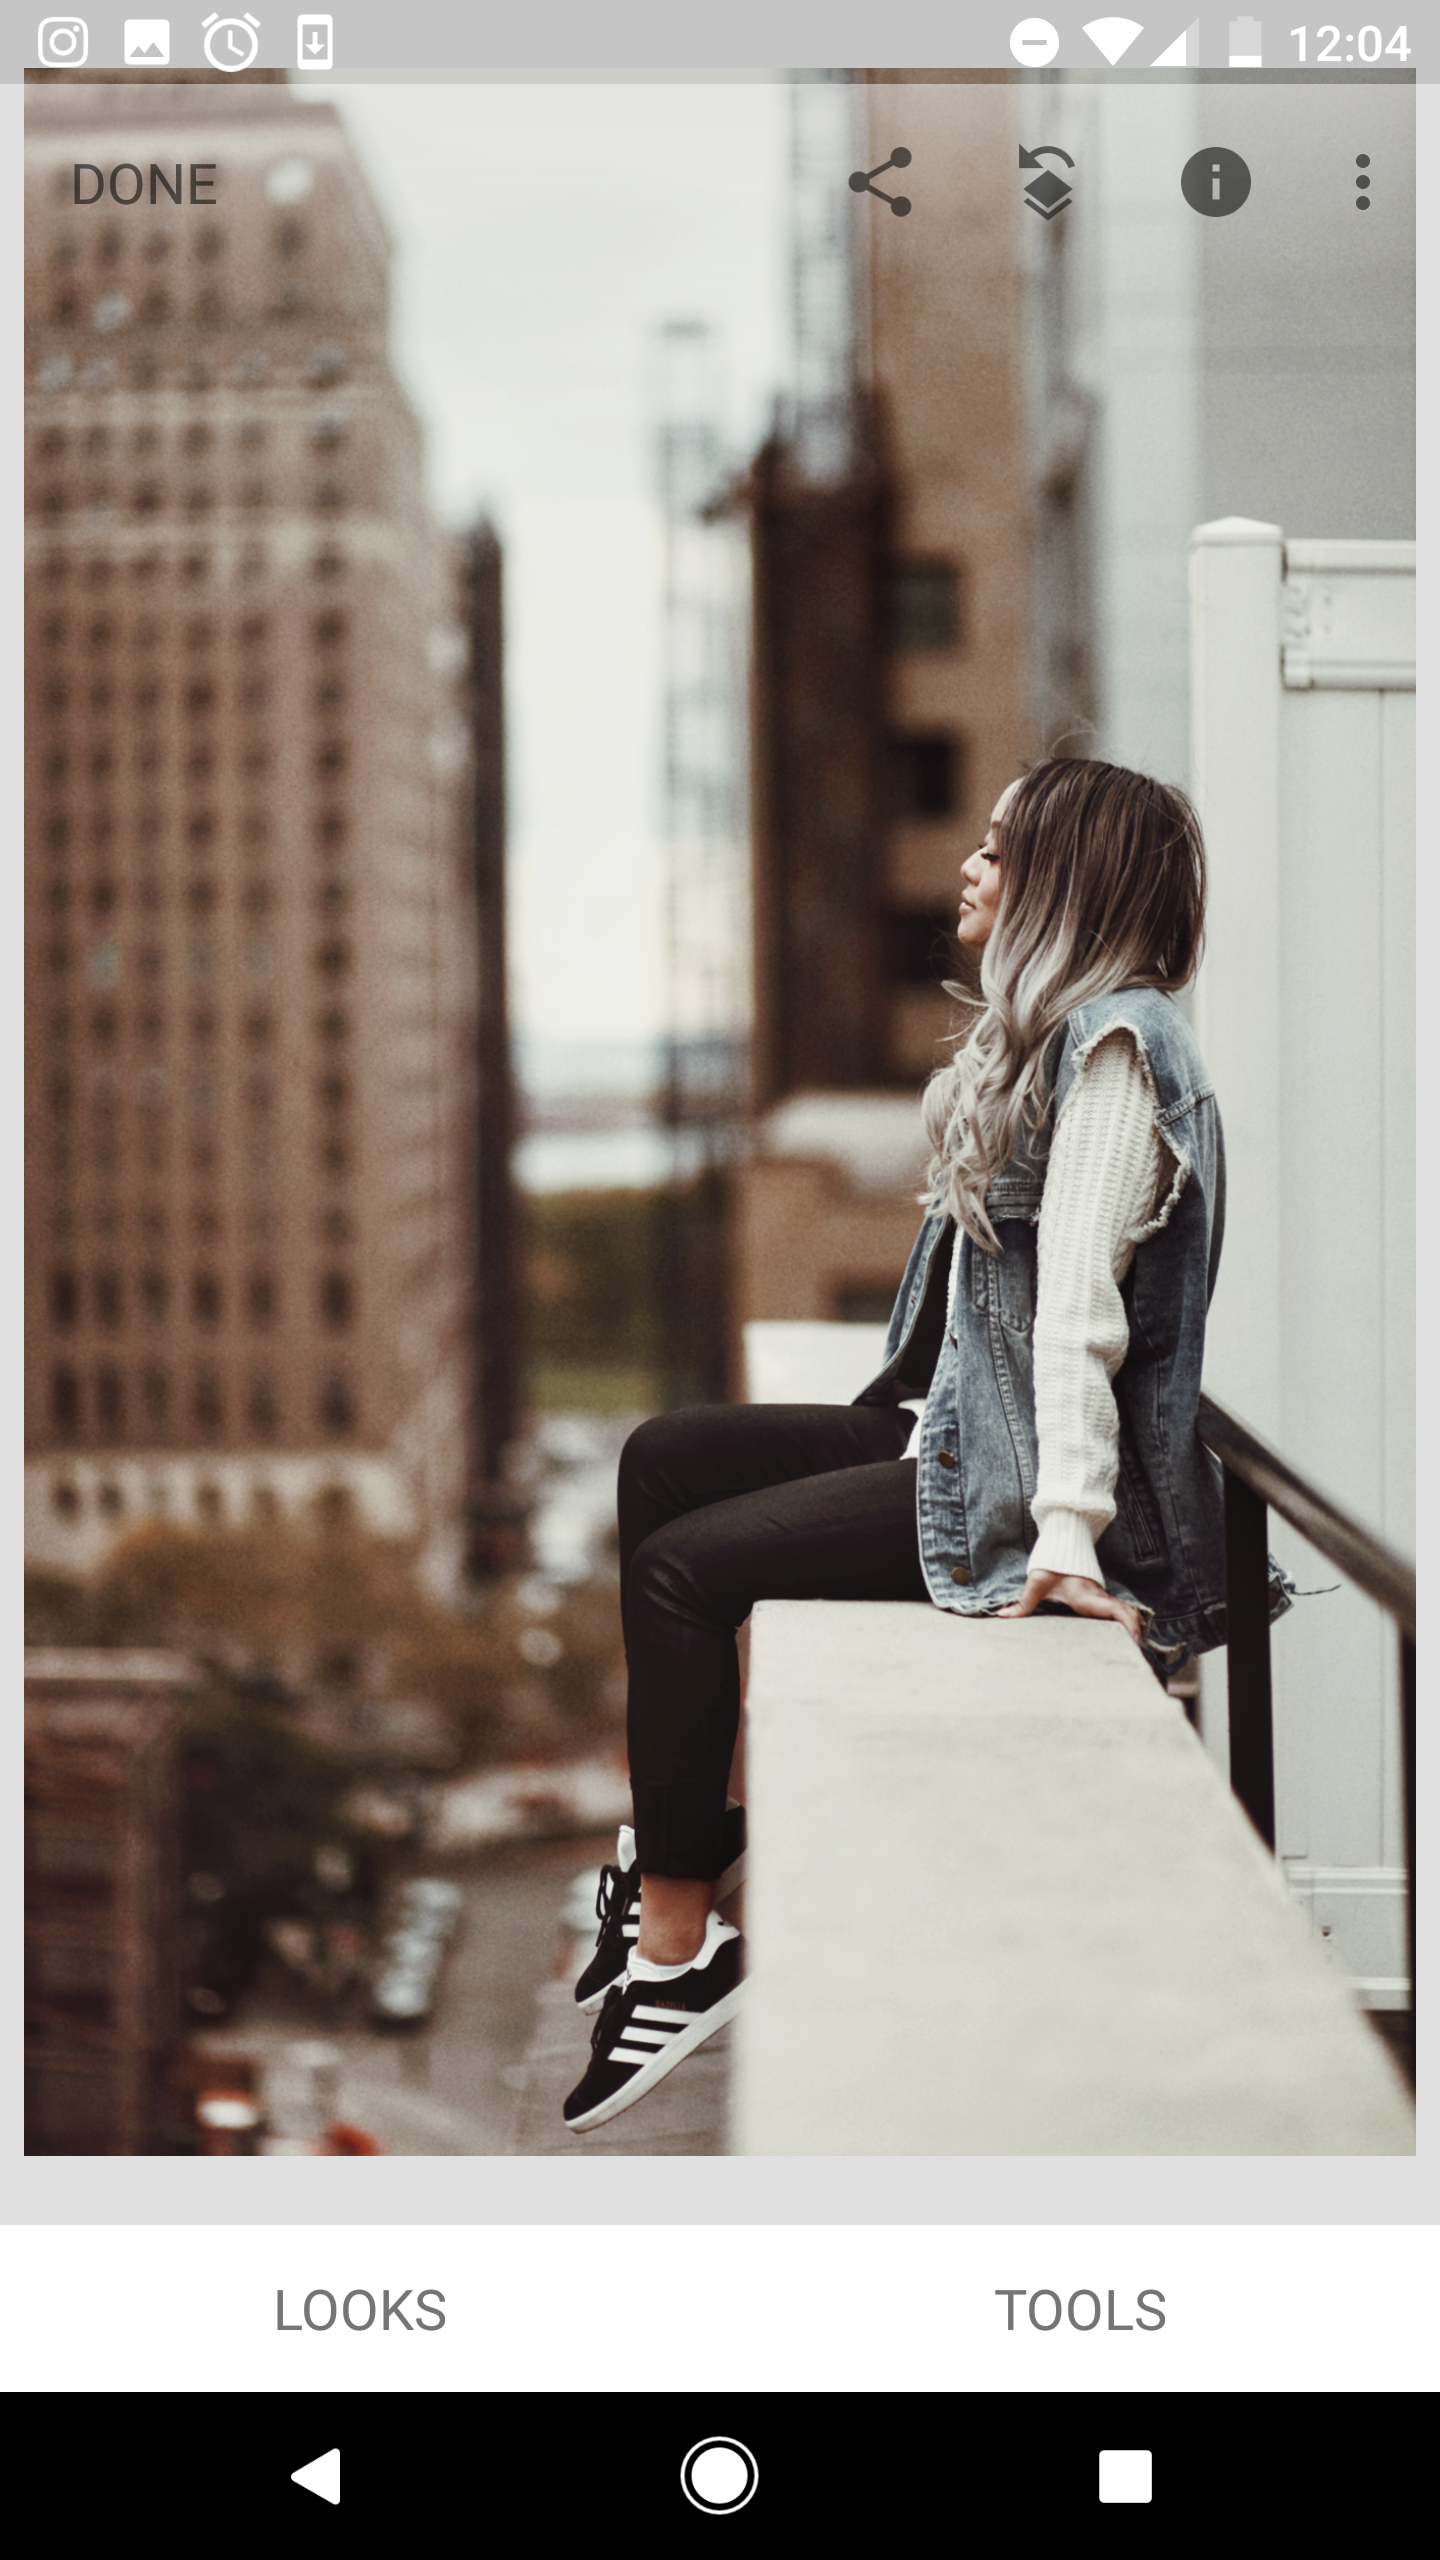
PART THREE OF HOW I EDIT MY PICTURES COMING AT YOU A YEAR LATER! My editing style has significantly changed since part 1 and part 2 of this series (and I also use a DSLR vs. my phone), but you'll notice I no longer give a poop about making everything white. Now I gravitate more towards warmer, 'vintage' tones. This isn't a drastic difference, but you'll find a before (2nd picture) and after (1st picture) of a picture I recently posted on Instagram below:
PEEP THE STEPS BELOW:
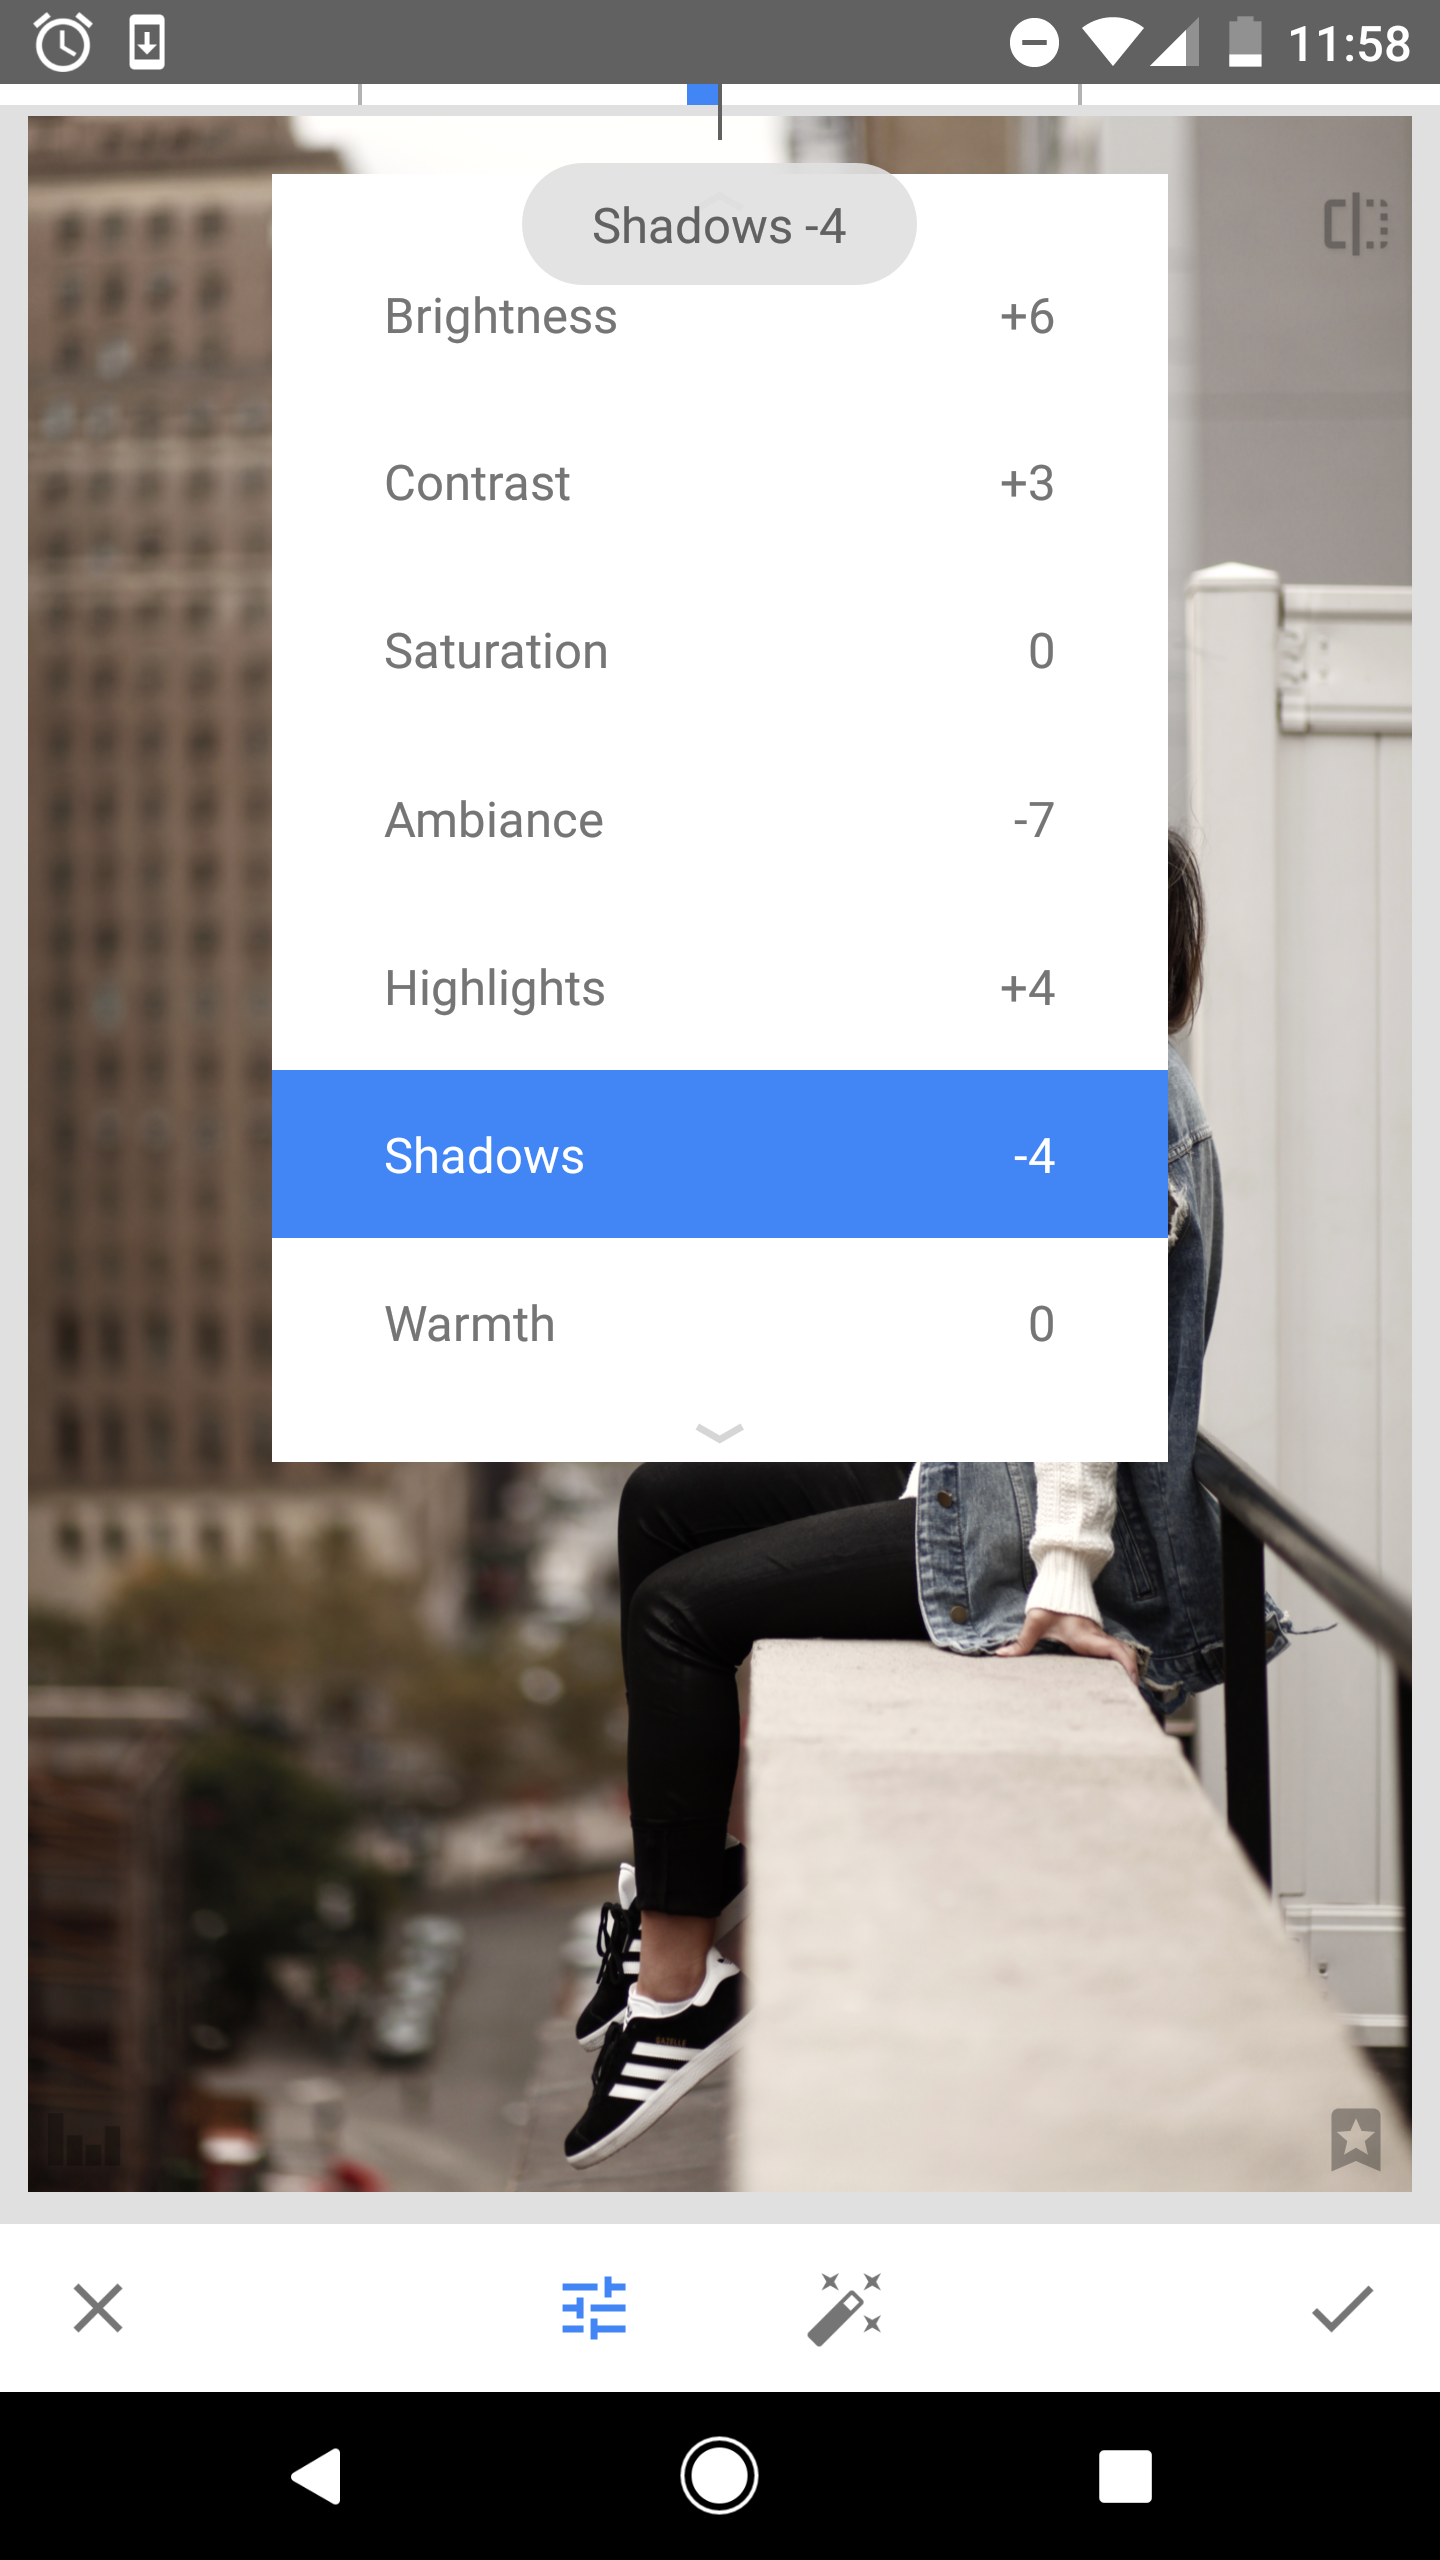
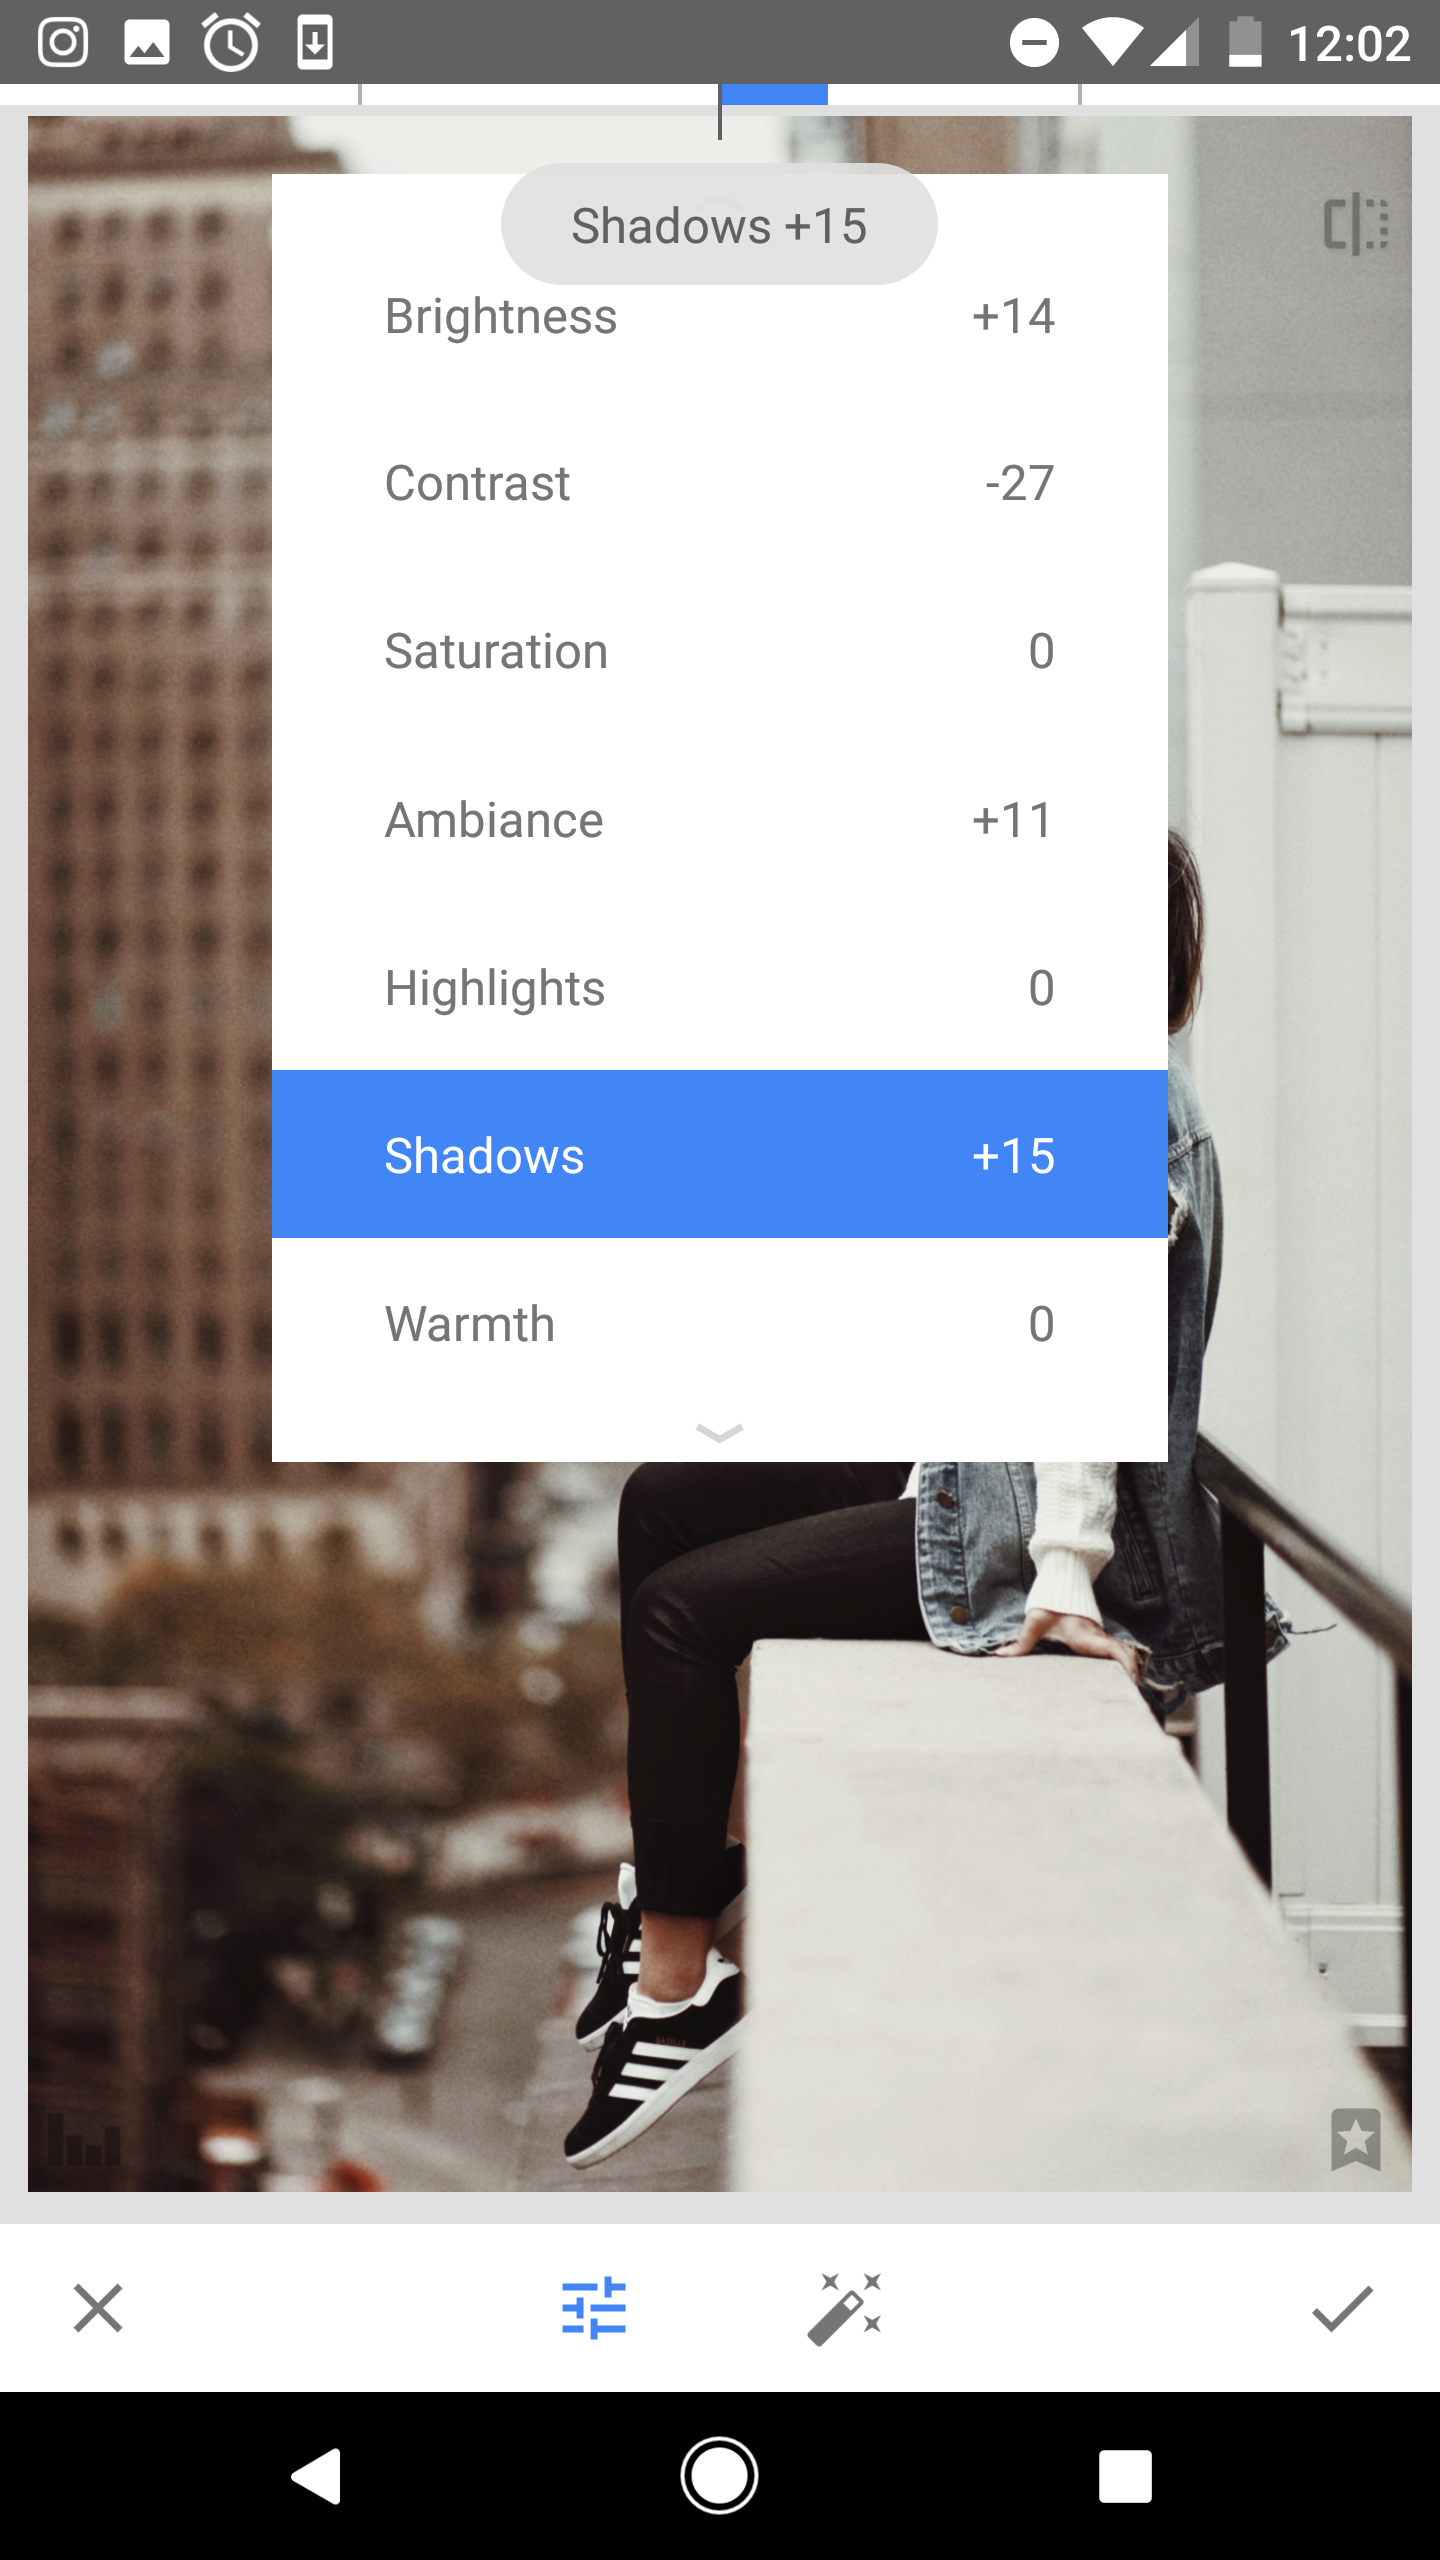
1. Tune Image - I still start all my editing in Snapseed. I first adjust the brightness, contrast, ambiance, highlights and shadow by going to Tools > Tune image.
2. Details - Just to sharpen and add structure to the image a little, I adjust that under Details.

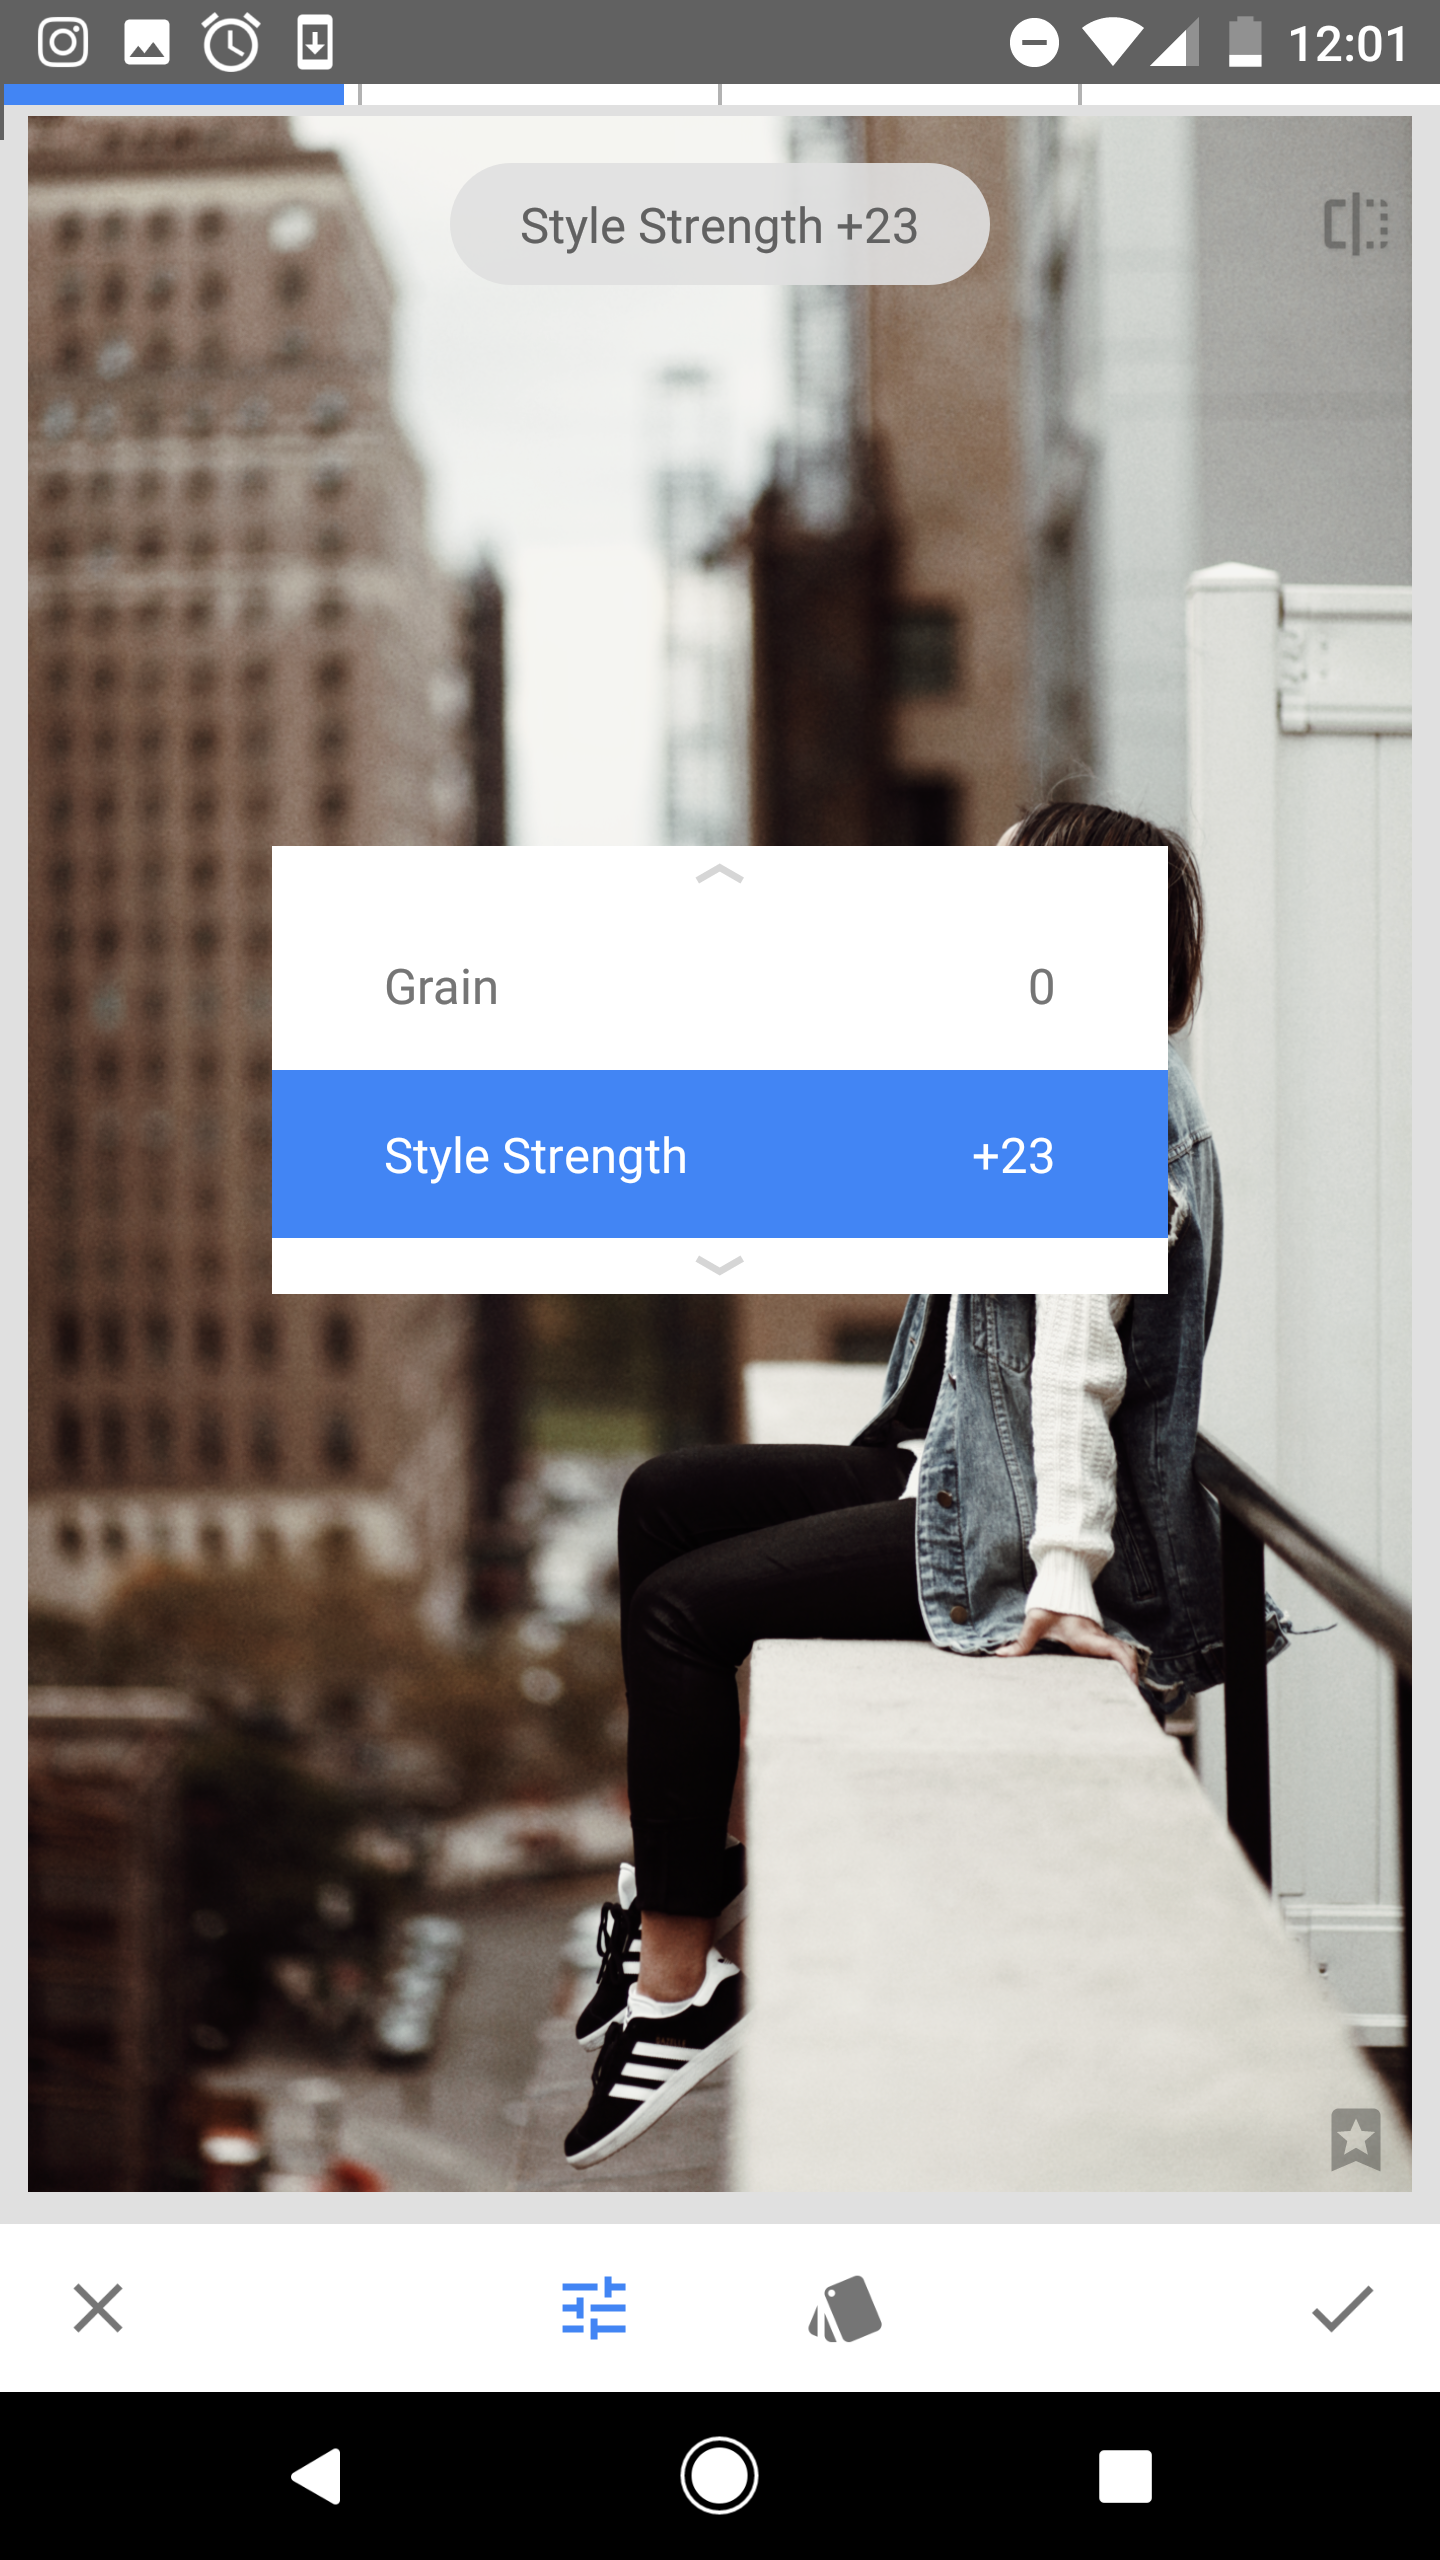
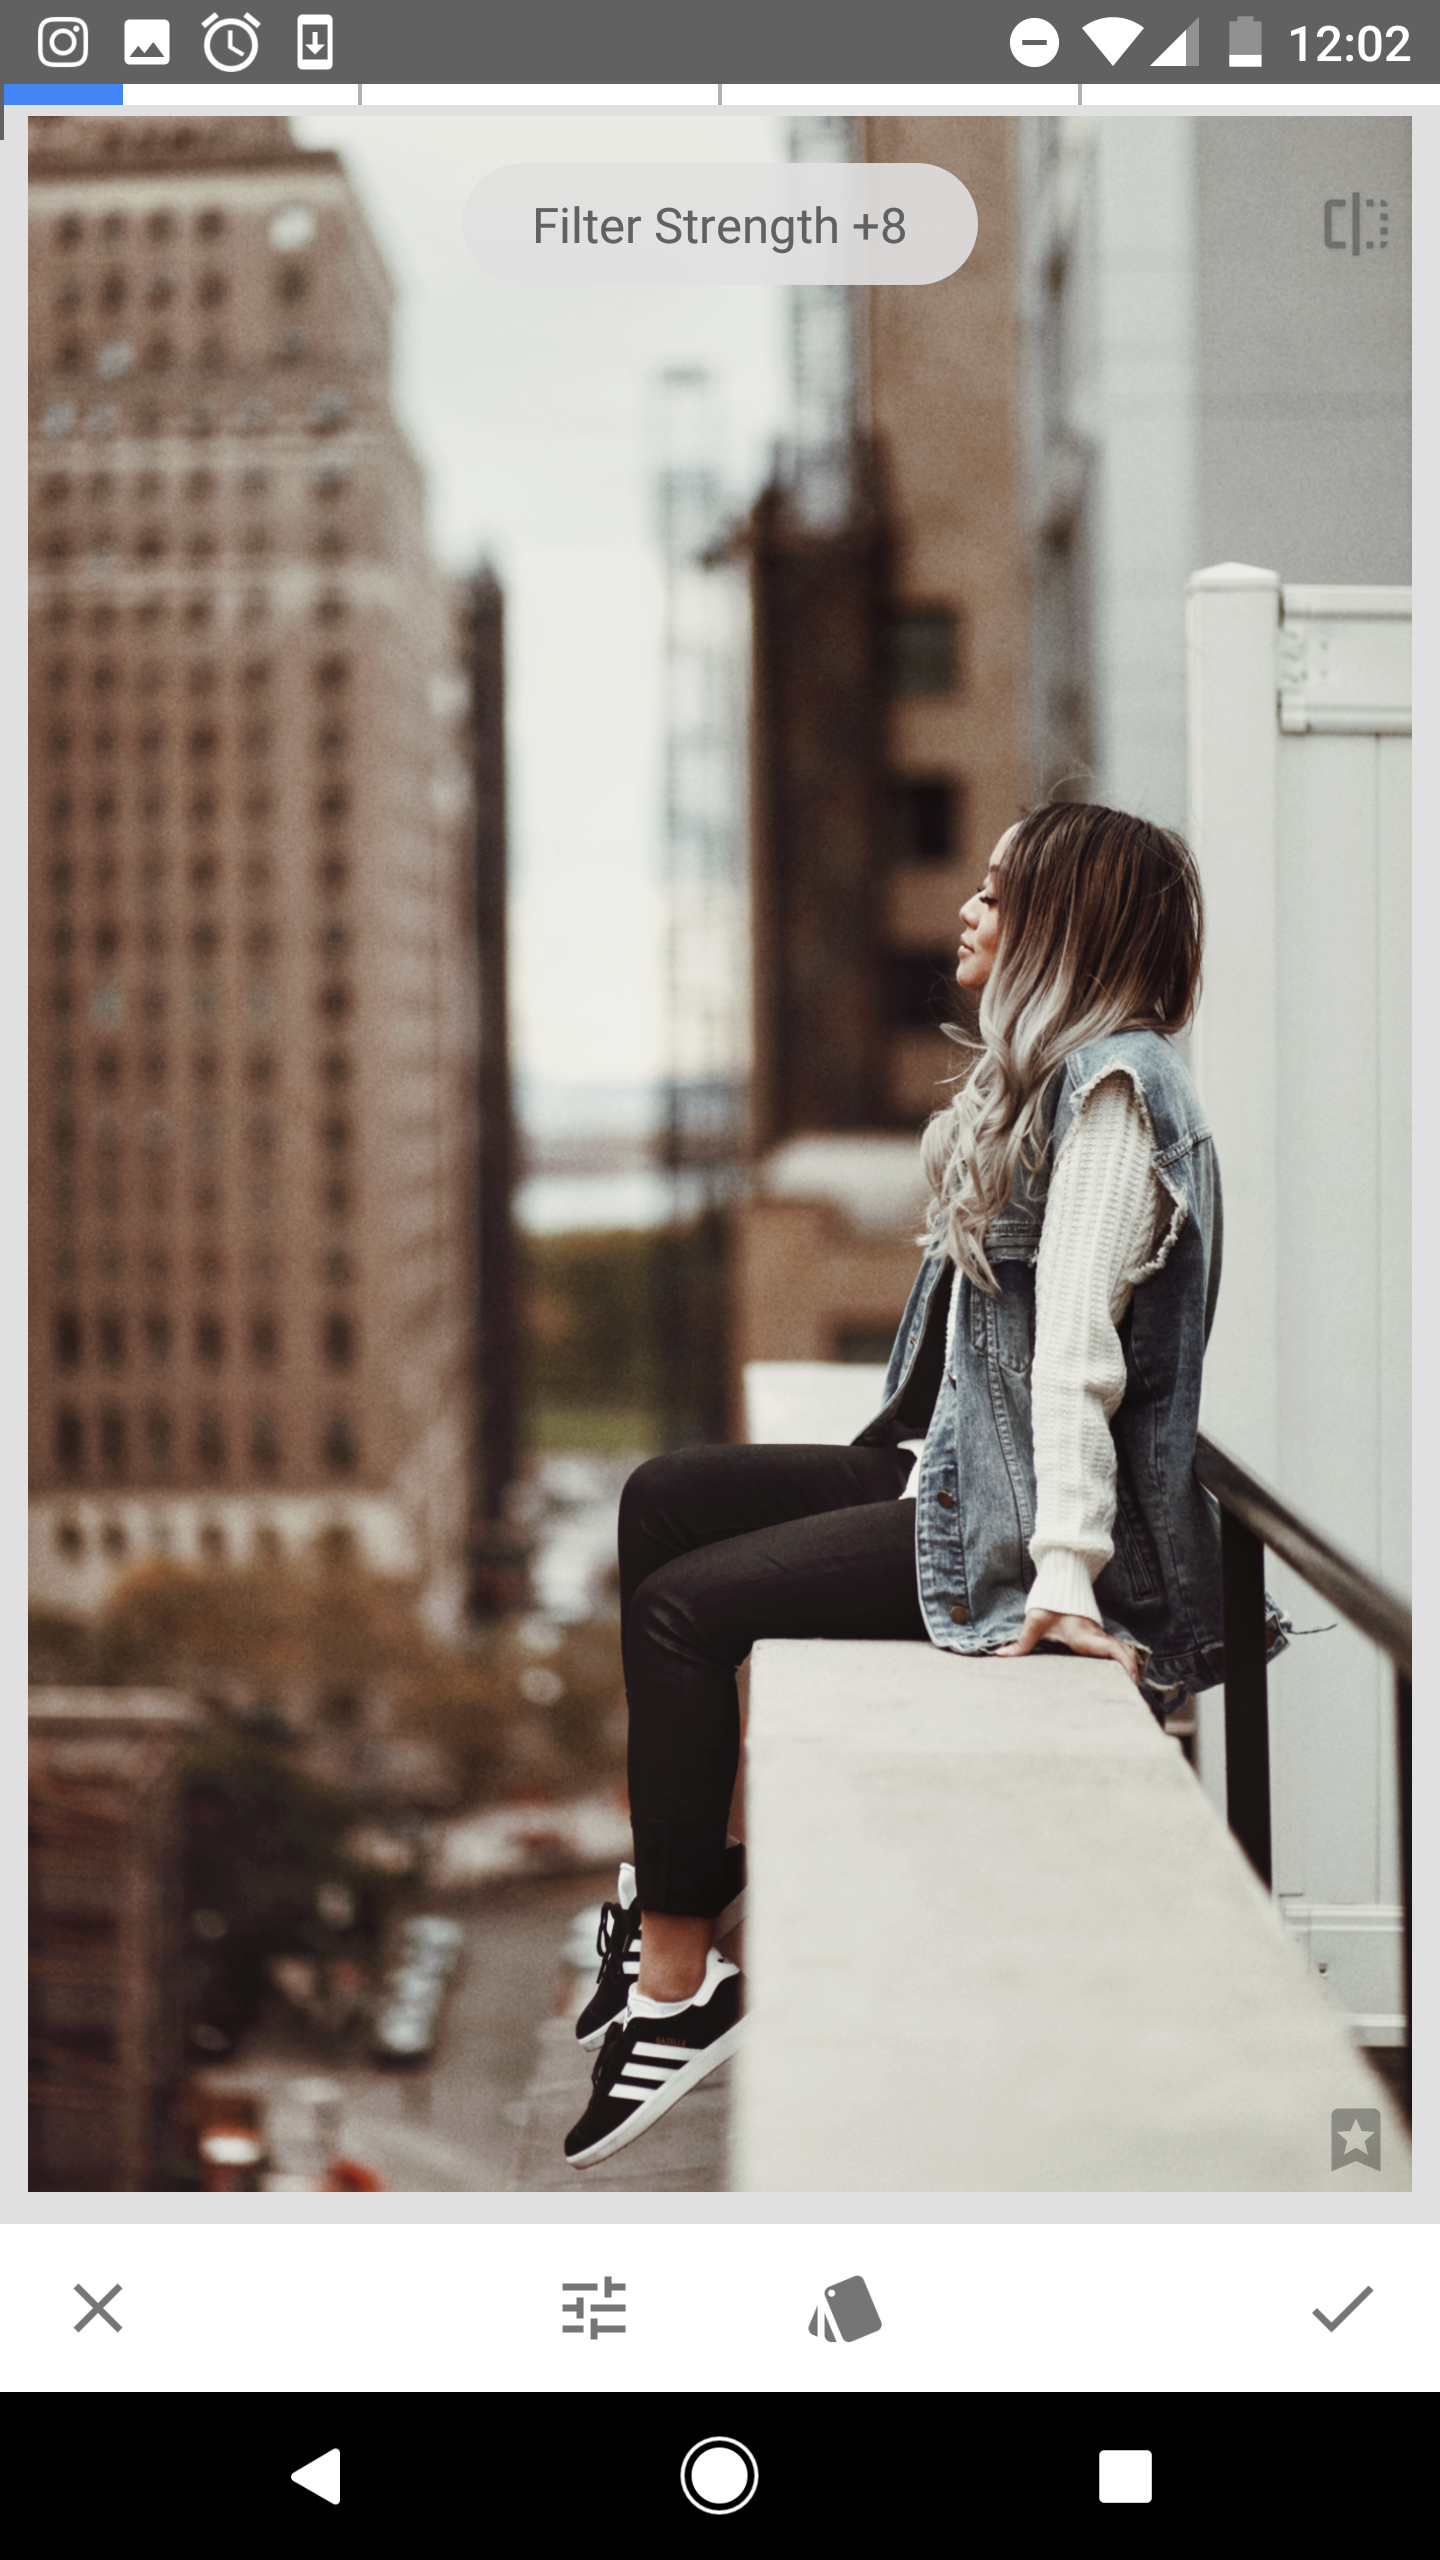
3. Grainy Film - This is a feature I recently discovered a couple months ago, but has been my HG since. I toggle between X03 and X04 usually depending on what kind of tone I'm leaning towards (here I ended up going with X03). I adjusted the grain and style strength to my liking!
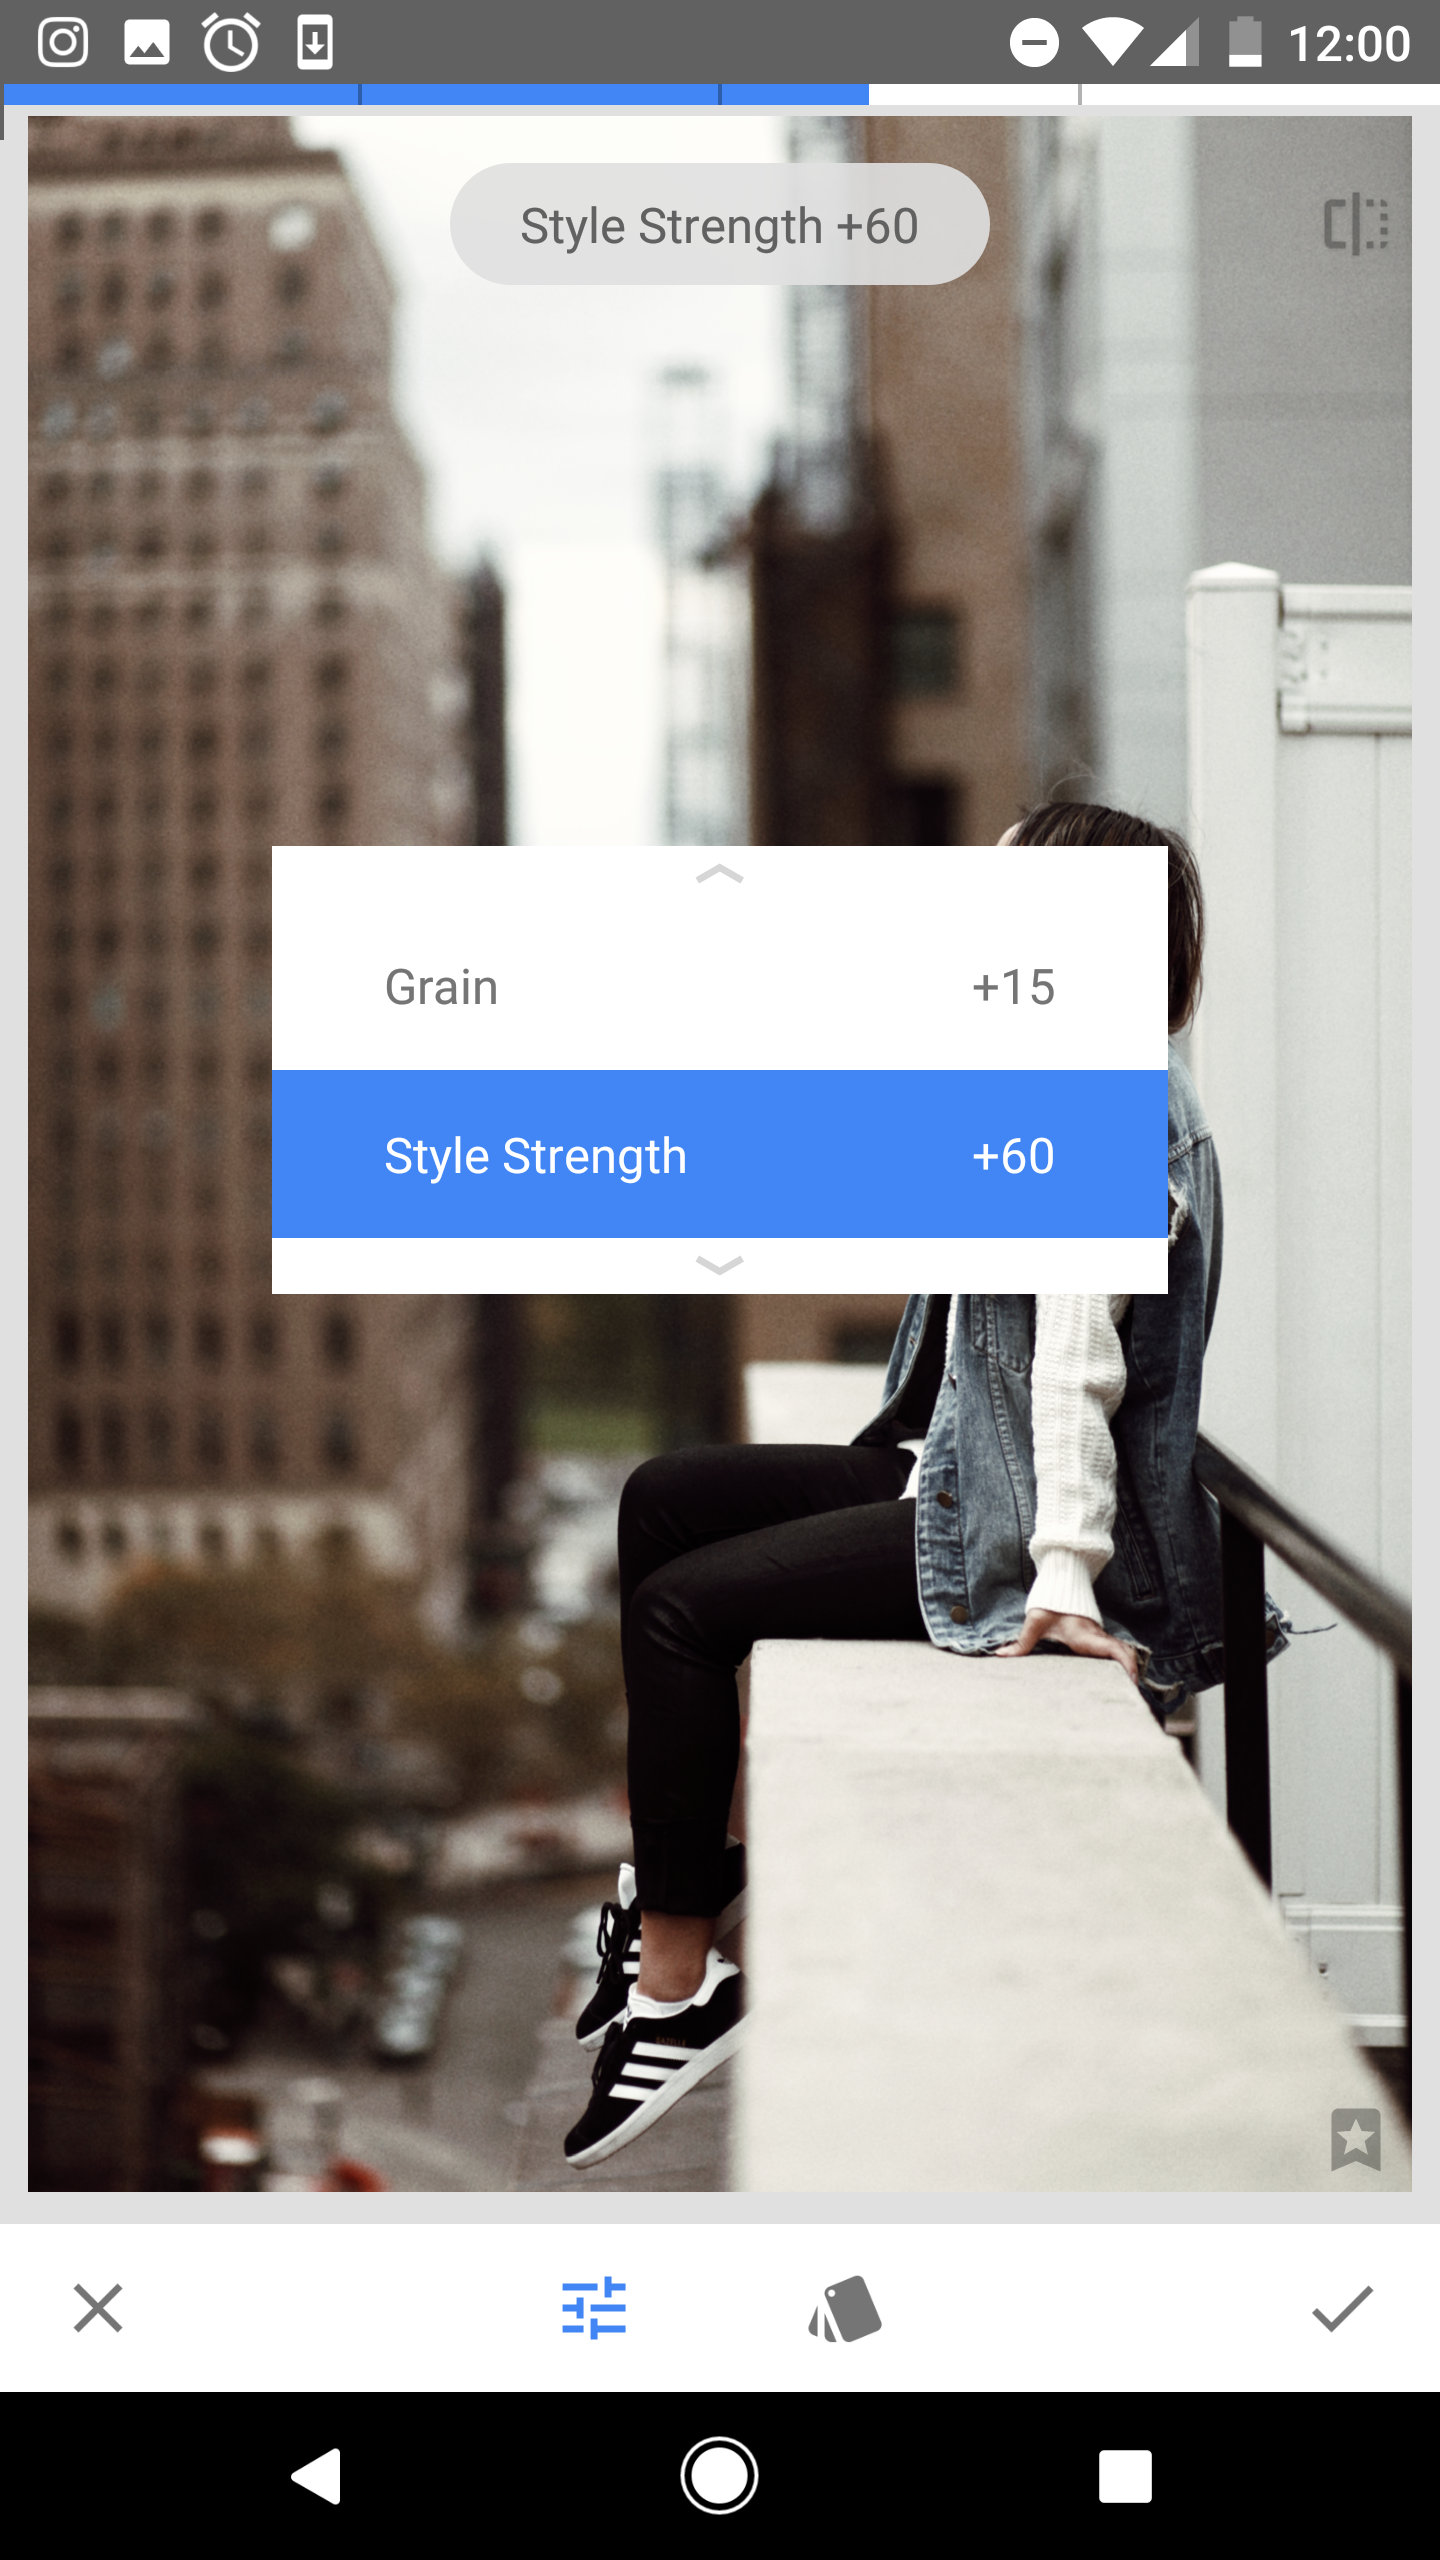
4. Grainy Film again - I play with Grainy Film back and forth until I get the tone I want. Here, I added a bit of X04 to add some warmth back to the image.
5. Back to Tune Image - Grainy Film tends to over contrast or over shadow the image, so I go back to Tune Image and adjust the brightness, contrast, ambiance, highlights and shadows until I get the preferred look. You'll notice here that I reduced the contrast and shadows to enhance the details of my outfit.

6. HDR Scape - Sometimes I like playing around with this feature on a low filter, just to enhance my surroundings.

7. Tonal Contrast - If I feel the picture needs a good sharpen, I use Tonal Contrast (but in this case I'm not).
8. Brush - I then adjust certain areas with the Brush tool (highlighting my hair, darkening my skin, etc.).
9. Facetune - Now I'm done with Snapseed and am onto Facetune! Facetune is great for sharpening certain areas I want to put into focus, or if I have a stubborn blemish I want to remove (luckily in this case, minimal edits in Facetune were required).
10. Instagram - All final edits are made in Instagram before I post - I usually add the Aden filter (on 20%), adjust brightness if needed, lower the warmth to bring back the blue's, and play with color, fade, highlights, shadow and sharpen until IT'S JUST RIGHT.
And voila the final result:

Now holla at me with YOUR editing tips!